You might be wondering how to install a tarp roof on your home. Here are a few helpful hints. Start by finding a tarp material that matches the color and size of your roof. A professional roofer may have some recommendations for specific brands. Cut the tarp material into strips two inches longer than your roof's width. Use a utility knife or scissors to cut the tarp into the correct length. Lay the strips crisscross style with the shiny side facing down.
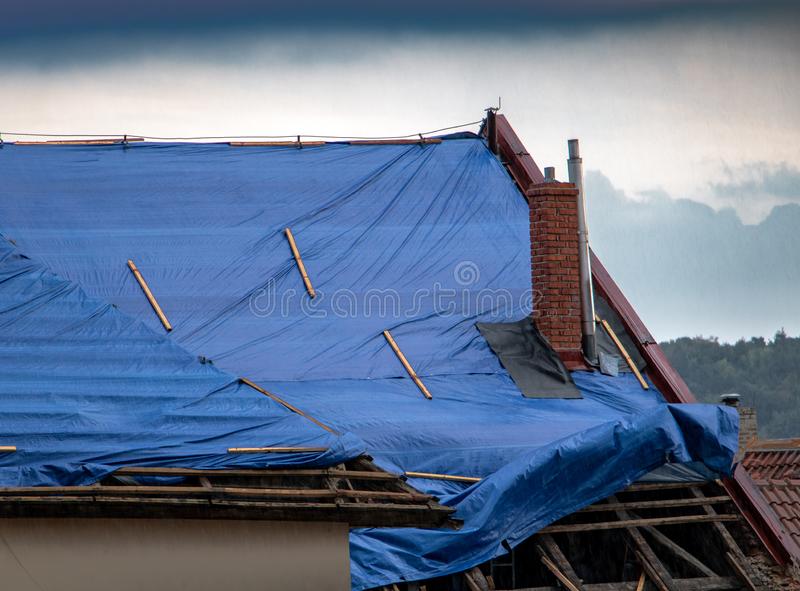
How to secure a tarp to a roof
Before securing a tarp to a roof, determine its size. The tarp should be around 4 feet in diameter, so the eave should be at least two feet larger than the length of the tarp. Nail the tarp to the board with nails that are spaced about 10 inches apart. To secure the tarp to the roof, roll the excess tarp around two 2x4s and nail it to the boards. This will keep the tarp taut, and prevent it from blowing off during a storm.
Once you have secured the tarp to the roof, stretch it tightly so that there is no slack. Then, secure it with screws. If it's a long-term tarp, you can also secure it with twox4 boards. Remember to use proper safety measures when working on the roof, and always keep in mind the safety rules. Be aware of slippery surfaces and damaged areas.
Next, secure the excess tarp to an additional 2x4 that you place under the ridge of the roof. This will prevent water from blowing underneath the tarp. Make sure to leave enough space on both sides of the tarp to allow it to hang over the roof's edge. As long as it doesn't hang too far over the ridge, it will be secure for a rain or windy day.
How to position a tarp on a roof
Positioning a tarp on a roof is easy and safe, but you can't just toss it up and hope for the best. Instead, follow the steps below to properly anchor your tarp and make it waterproof. First, lay a 2x4 board on top of the tarp, ensuring that the ends are perpendicular to each other. Then, nail a single 2x4 board to the other edge of the tarp. Make sure the twox4s are tight enough to hold the tarp in place. Once the boards are in place, you can begin attaching the tarp.
To secure the tarp to the roof, use a 2x4 as an overhang anchor board. Make sure the anchor board is as tight to the home as possible. You can also add a 2x4 board to give it extra support, but make sure the spacing is appropriate to give even support to the top of the tarp. Once you've secured the tarp, you can start repairing it with screws.
Then, wrap the tarp over the weakened side of the roof and secure it with 2x4s. Be sure that the tarp extends a little past the eaves' line. Remember to add an additional 2x4 to prevent it from flapping. This way, no water can penetrate the damaged area. After securing the tarp to the roof, you can start to clean up the damaged part.
Here are the best trail cam recorders on Amazon
Did you miss our previous article...
https://bushcrafttips.com/what-is-bushcraft/best-wood-for-bow-making
 What is BushcraftSurvival SkillsToolsVideosBushcraft CampsBushcraft KitsBushcraft ProjectsPrivacy PolicyTerms And Conditions