Back in the ’90s, I was an avid hiker and camper. My day hikes tended to be in the 4- to 8-mile range and my camping trips were usually three days and two nights of roughing it with the guys after a long, strenuous hike to places with scenic vistas. And, once a year, there would be a large weeklong camping trip, on a large parcel of private property, but it would be a car trip. While there were zero amenities, not even a bathroom, you could drive the average four-wheel drive vehicle through the woods to our spot. It was a beautiful place, several hundred acres in the Catskills with a mix of forest and open field, and a medium-sized stream running through it.
These trips were primarily a guys’ trip of shooting, four wheeling, open-fire cooking, and a lot of drinking. Needless to say, as sweaty and dirty as we got, with a shower unavailable and the stream water averaging around 50 degrees F year-round, bathing wasn't something done often enough. To help with the situation, some of us started leaving our Scepter 5-gallon water jugs in the sunny field to warm up a bit, and it really helped. While it was still inconvenient, at least we could splash warm water on ourselves. We soon discovered that we could prop up the jugs on the rooves of our cars and crack open the cap to get a trickle-type shower. While still less than ideal, it was a big step up from super chilly stream water. But, there had to be a way to have a better field-expedient solar shower. One year, over the course of the weeklong camping trip, we worked out a solution.
Initially, we started with a 4-inch- diameter PVC tube with a cap on one end, a fill tube in the middle and an on-off valve at the other end. It was just gravity fed and it was OK. But, as we worked through the best ideas of our group, we made a few improvements. For starters, we added a short piece of garden hose so we could get that water where we wanted it and quickly added a sprayer. Then, we painted it black and that really upped the speed the water heated, as well as raising the upper temperature. And while this worked well, the pressure left a lot to be desired. The final incarnation added air pressure through a standard female air hose fitting, and the difference was awesome. We could actually take a couple of showers over the course of the day as the water refills heated up in the sun. We went from roughing it to “glamping,” and we were happy.
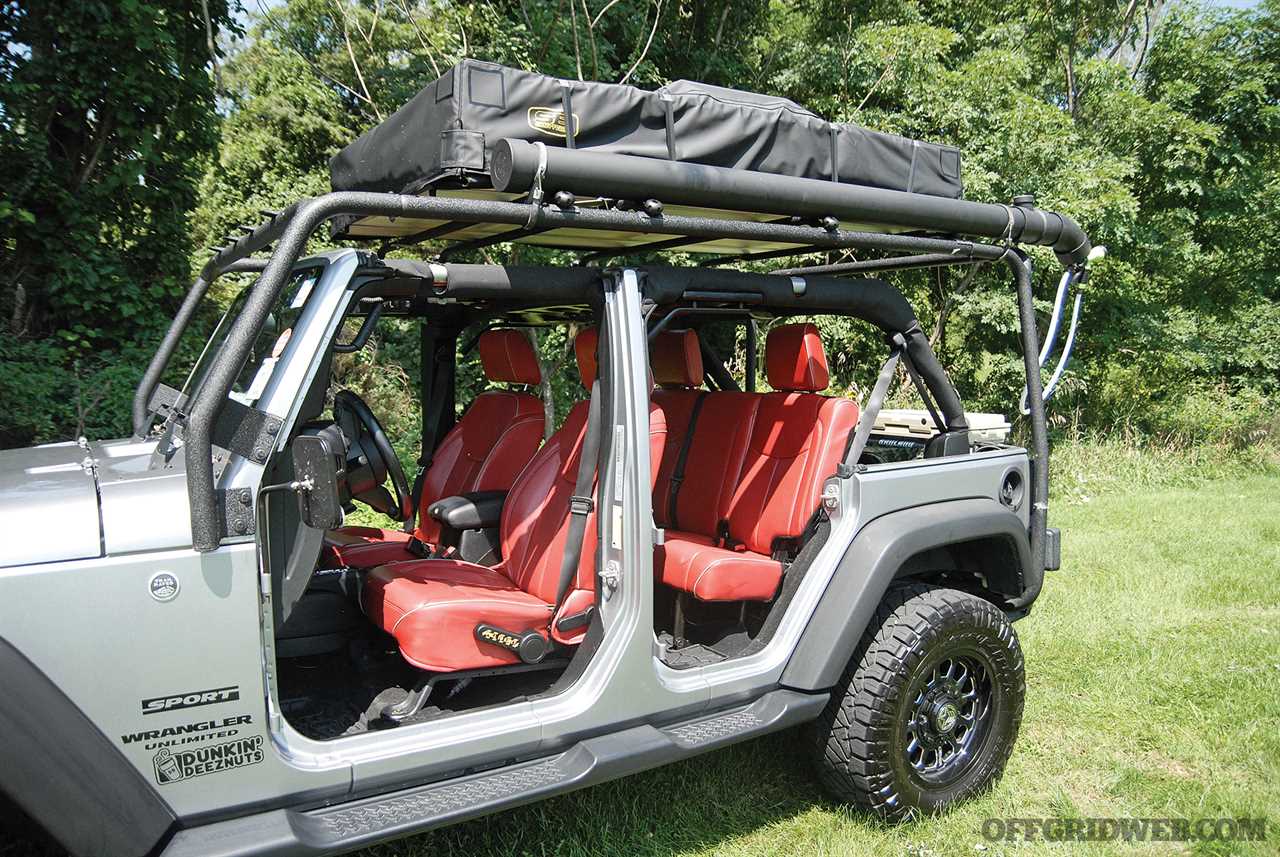
I eventually gave my PVC solar shower away to one of the guys when he started taking his kids on car trips. Plus, I had upgraded my ride to a “Class B” RV, with a built-in on-demand water heater, so I no longer had need for the PVC one. Over the course of many years, I saw online that others had come up with the same basic design we had. And eventually, upgraded commercial versions of the rooftop solar water heater began to be produced, and they are now also known as an overland shower. These durable, portable water heaters start at just over $100 and go all the way up to the $500 range. And while there are soft-sided, bag-style solar showers available for camping, they’re relatively delicate and have the downside that you must set it up and wait for it to heat up. The durable roof-type style can be heating up even while you’re driving to your destination.
In testing over the summer, I was able to get the water temperature up to a maximum of 111 degrees F on a 90-degree day of full sun, while the pipe itself hit 115 degrees. On a partially sunny 80-degree day, the water hit 95 degrees. That’s more than adequate for a warm to hot shower that requires zero electricity. If you’re in need of a similar rooftop solar shower for your off-road adventures, ocean surfing, car camping, road trips, or off-grid living, here’s how you can build one.
How to Build a Rooftop Solar Shower
STEP 0: Select your components.
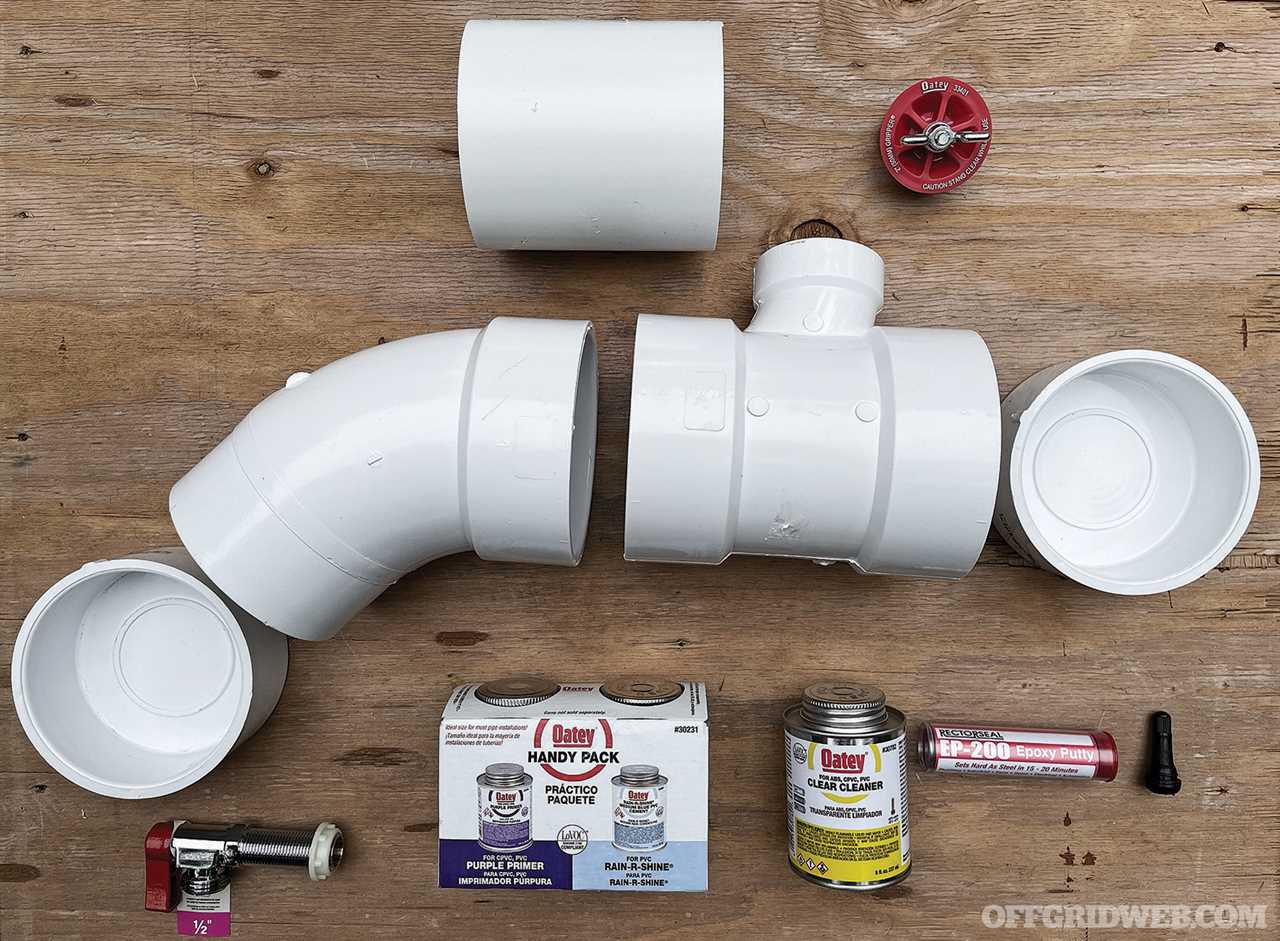
I decided to go with 4-inch diameter pipe, which needs 7.659 total feet to get me to my desired 5 gallons. You’ll also need two endcaps, a 45-degree elbow, a T fitting (mine was 4- to 2-inch T), a test plug to fit the top of the T fitting opening, a spigot with a threaded inside connection, some epoxy that will bond with both the PVC and the metal spigot, a Schrader valve that bolts in and PVC cleaner, primer, and adhesive.
STEP 1: Mark your pipe at the desired length.
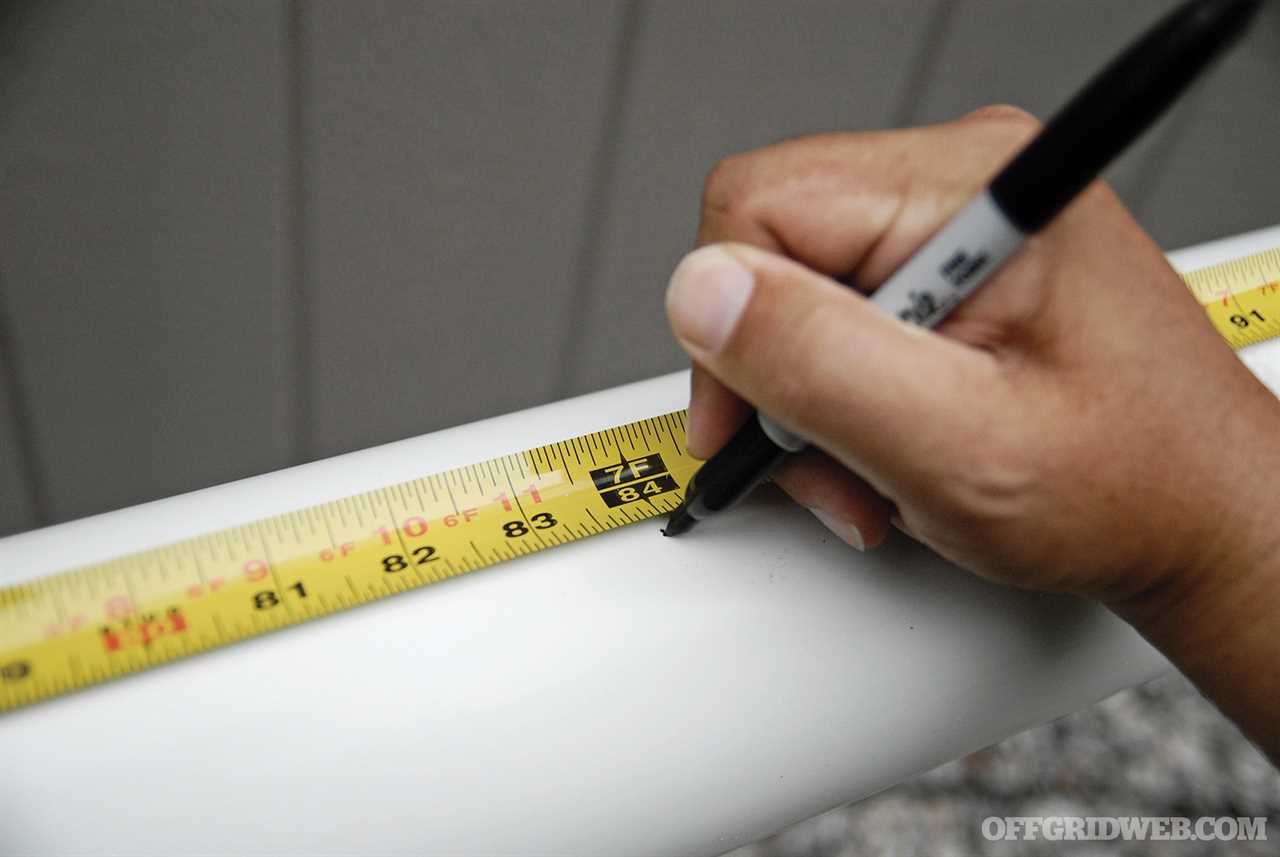
I needed 7.659 feet total length to get me to the desired capacity of 5 gallons. My first cut was to 7 feet in length, knowing the length of my fittings would bring me just over the needed length.
STEP 2: Cut the PVC pipe to the desired length.
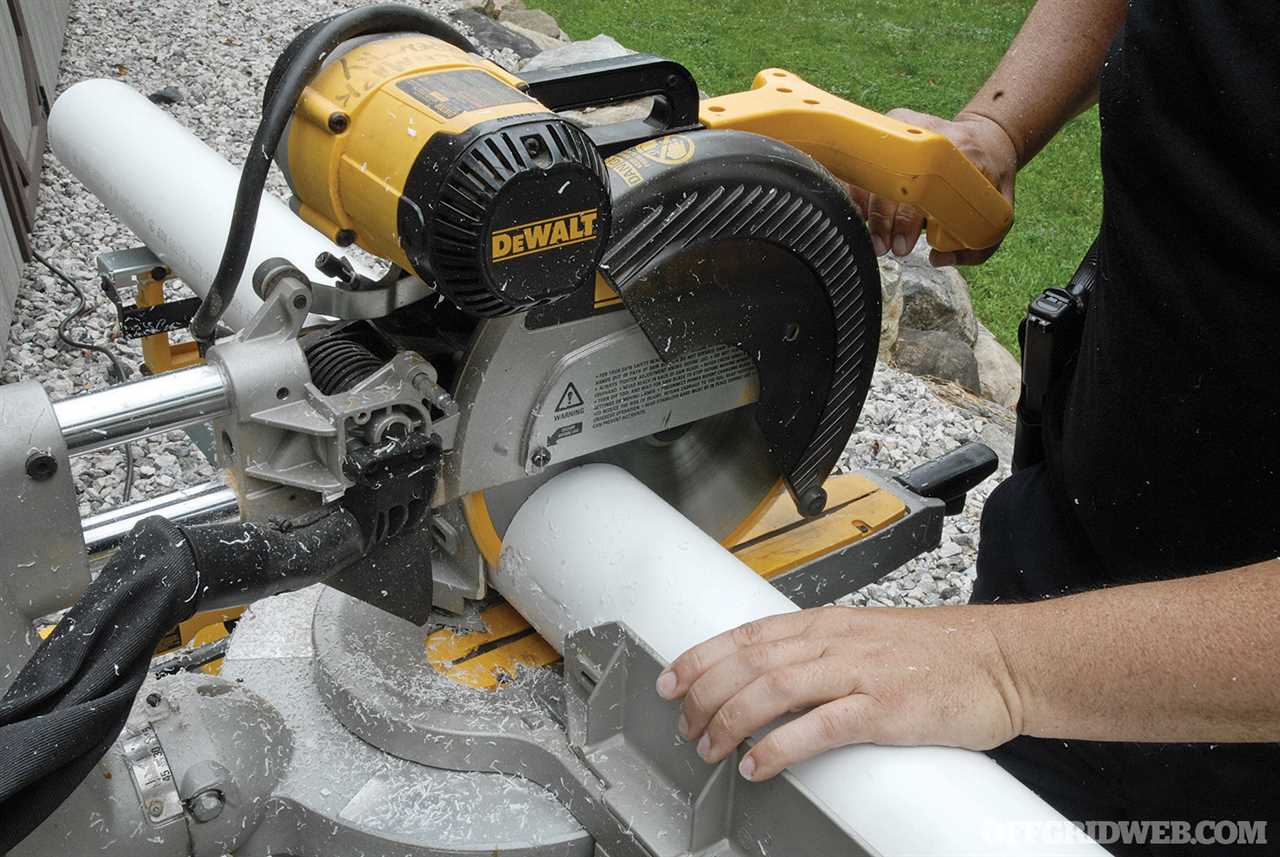
While I used a miter saw, you can easily cut it with a hacksaw or PVC cutter.
STEP 3: Make a spacer.
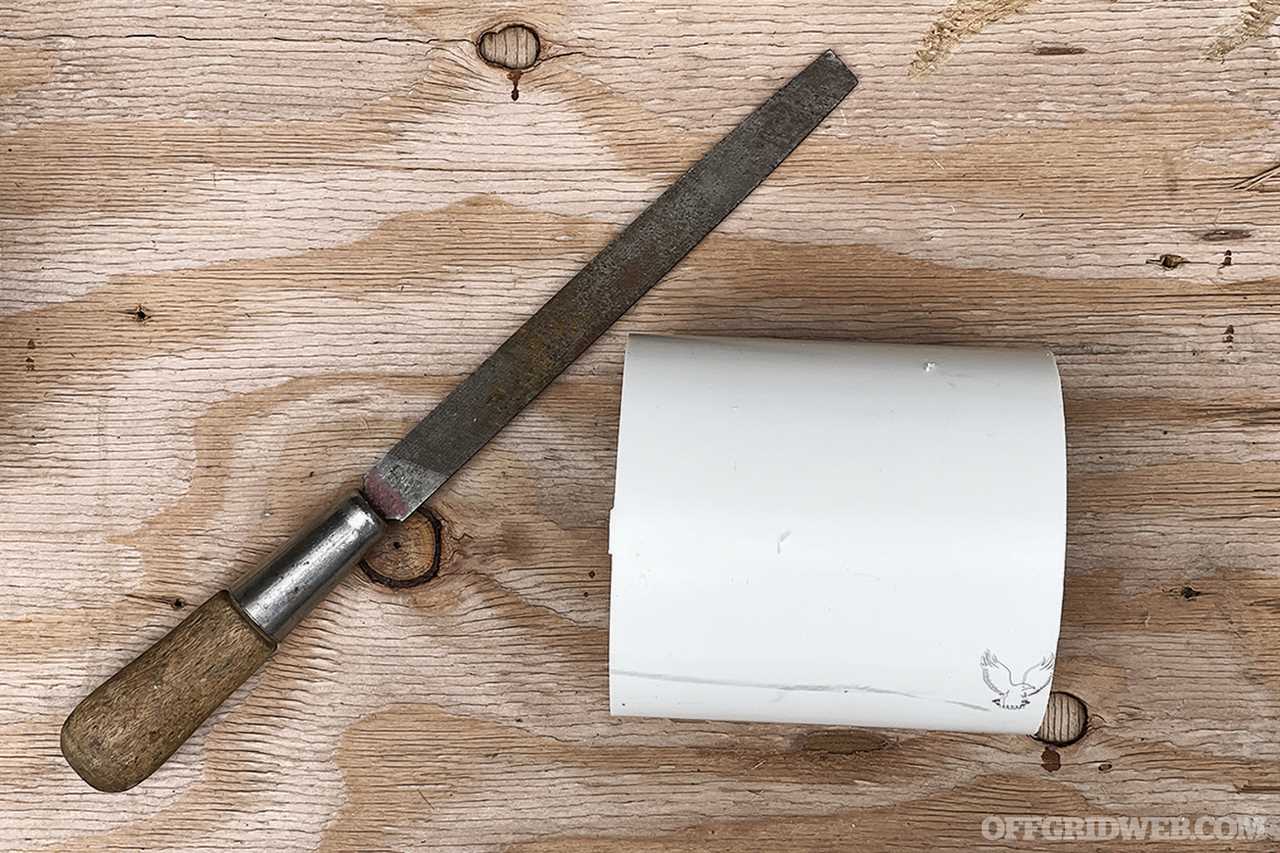
I then cut about 8 inches off of the 7-foot piece to give me the required spacer piece between the T fitting and the 45-degree elbow. If you find any burrs on the pipe, now is the time to file or sand it off to help ensure a leak free seal.
STEP 4: Drill some holes.
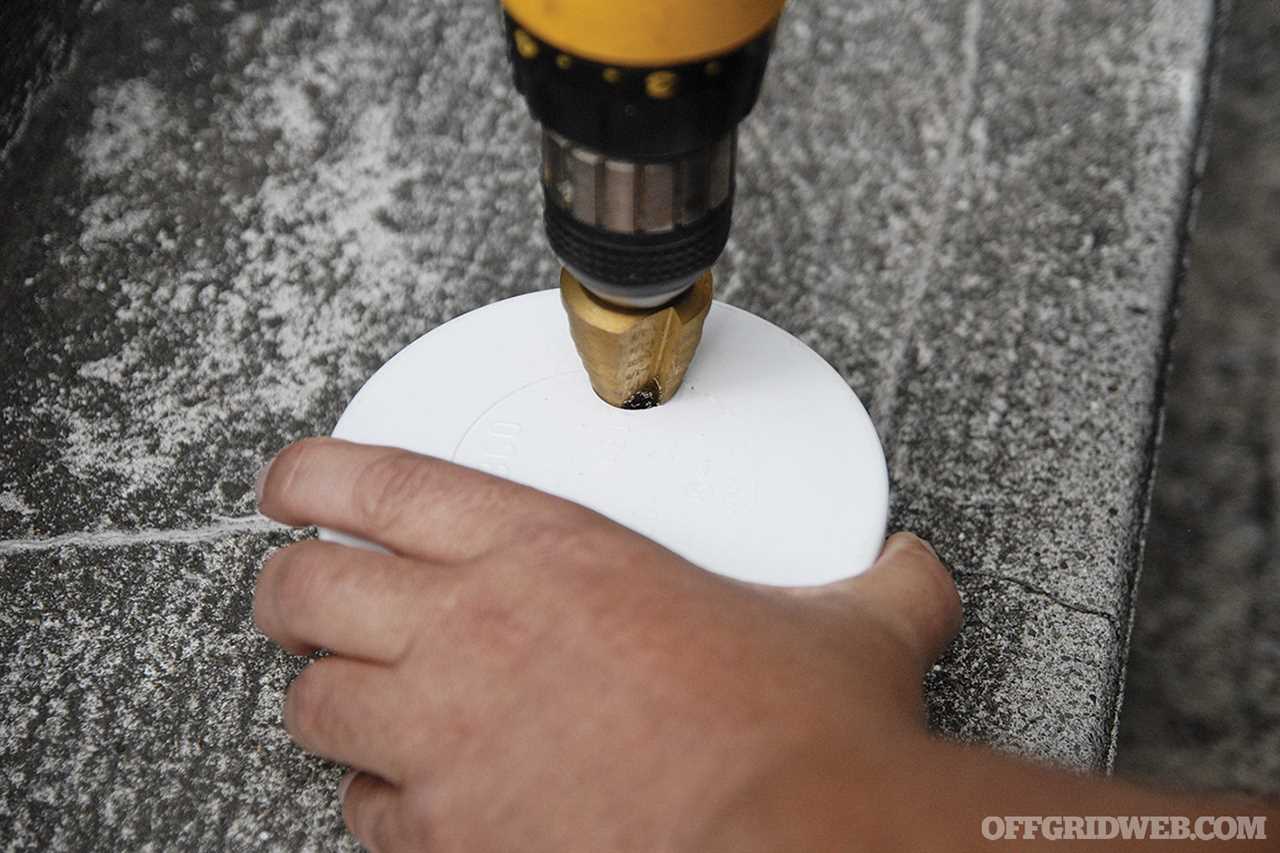
You’ll need to drill two appropriate size holes in one of the endcaps. One will be for the spigot and one will be for the Schrader valve. Don’t oversize the holes. We want them to be as tight as possible. I practically had to thread the spigot into position.
STEP 5: Attach and seal the valve.
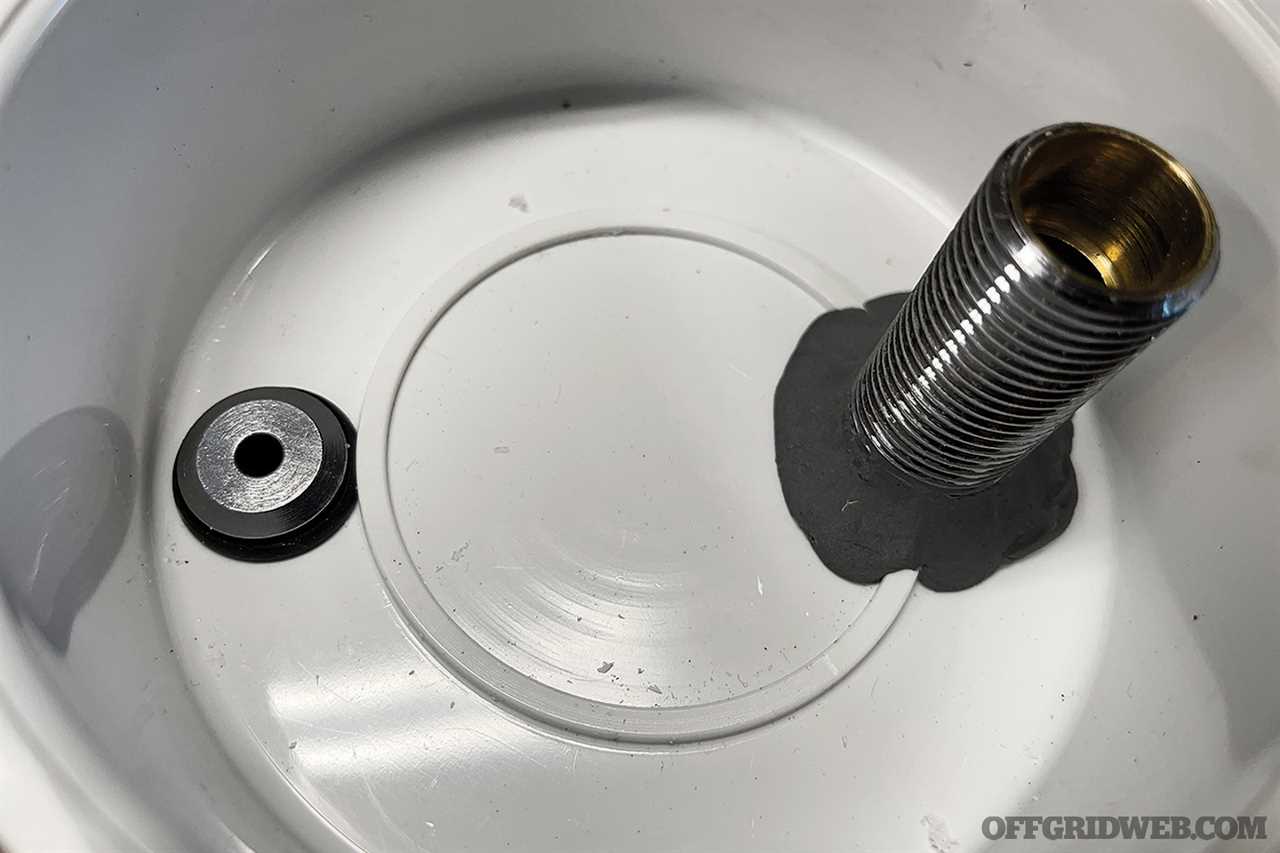
Attach the Schrader valve and fully tighten. Then, attach the spigot without the retaining nut. Once the spigot is in place and aligned, put some epoxy around the connection point to seal the fitting.
STEP 6: Tighten the nut quickly.
Before the epoxy has a chance to start hardening, tighten the spigot retaining nut.
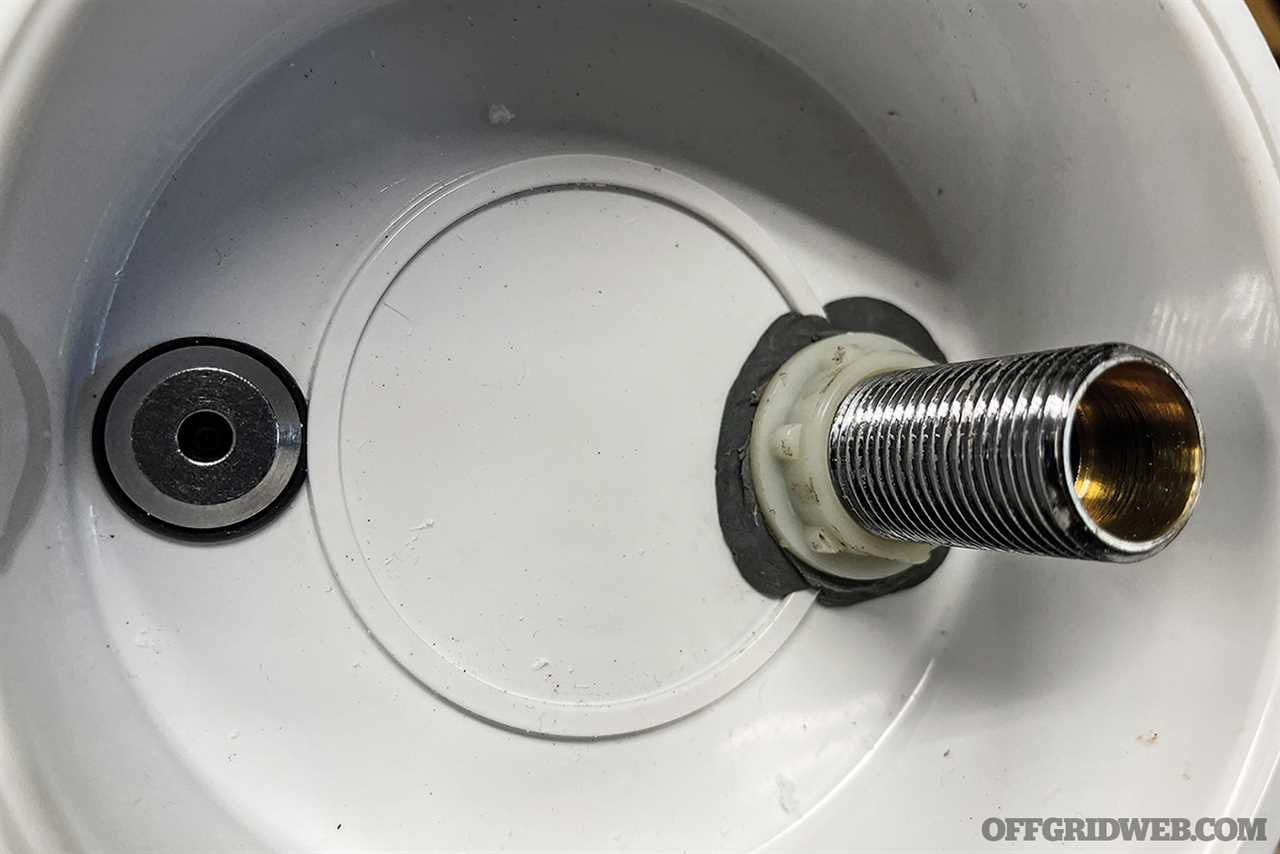
STEP 7: Examine your end cap.
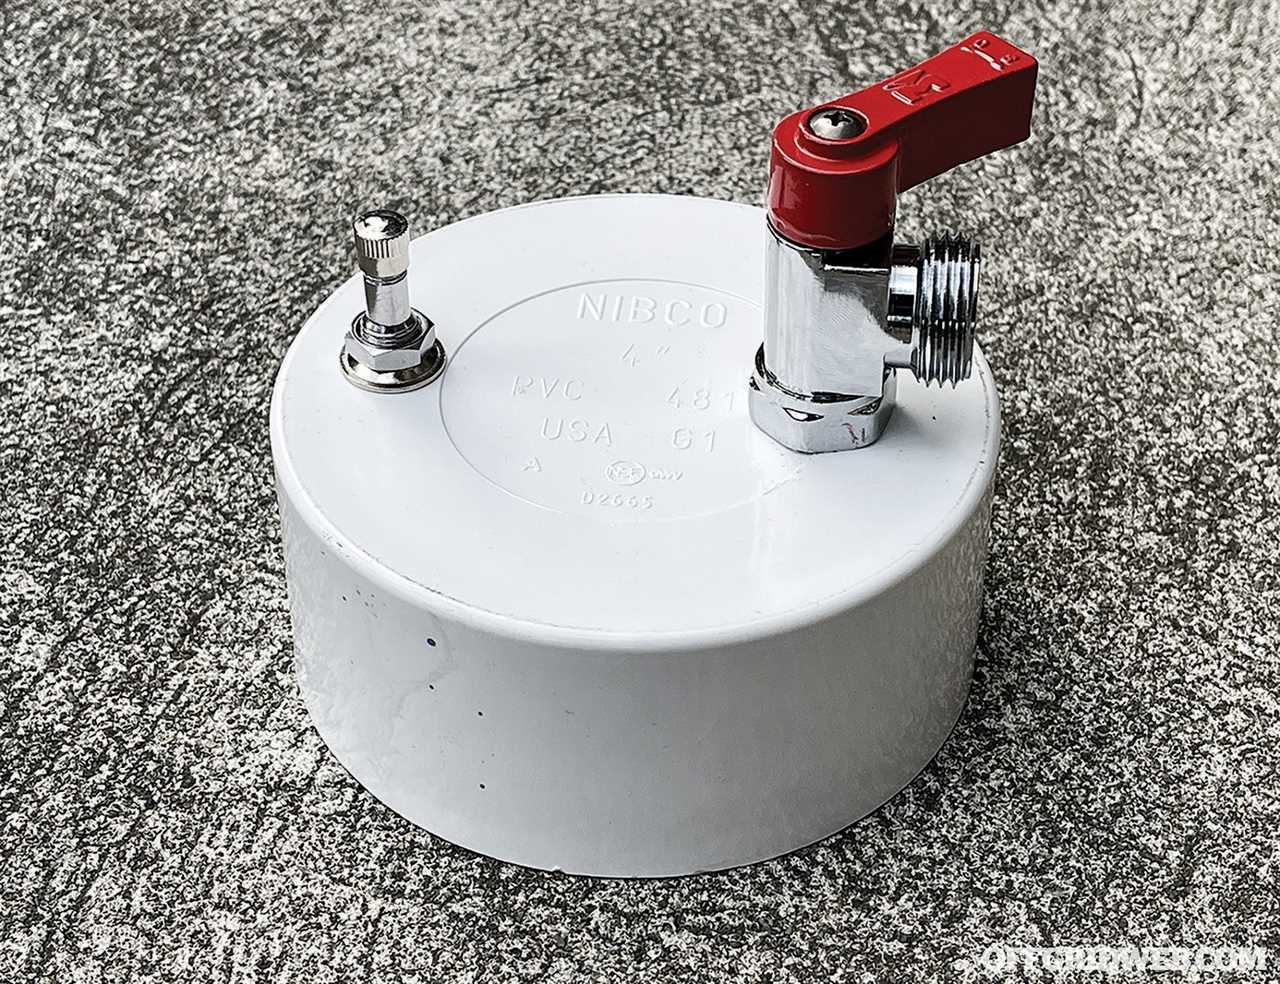
Once the Schrader valve and spigot have been attached, your endcap should look like this.
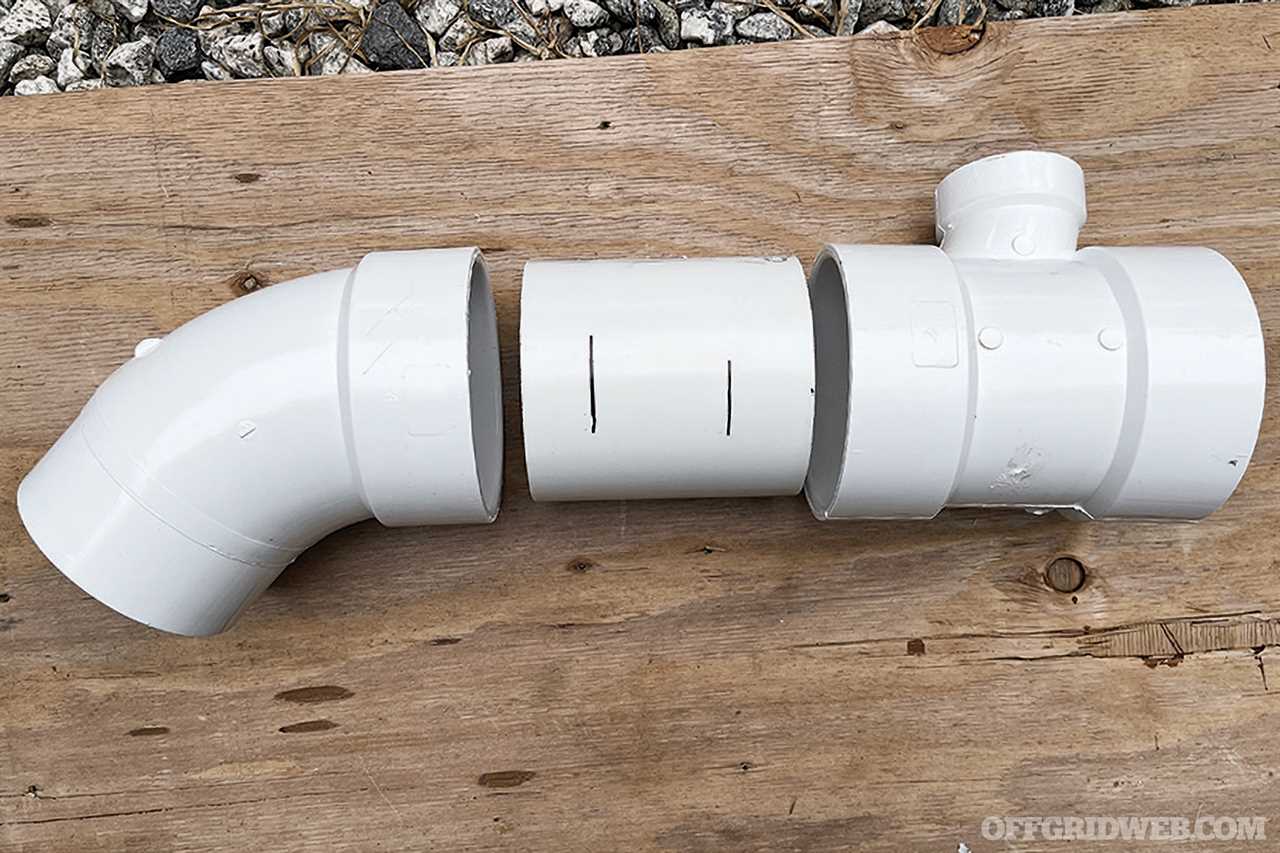
STEP 8: Dry-fit and mark all the parts.
Don't apply glue yet! Use a marker or pencil to make vertical reference lines as to how deeply the parts will need to be pressed together. You should also make an alignment mark horizontally for the parts that need to fit together in desired orientation.
STEP 9: Disassemble and check your markings.
When you pull the unglued pieces apart, you’ll see your vertical reference lines. You'll need to clean, primer, and glue 100 percent of this area to ensure a good seal.
STEP 10: Clean, prime, and glue.
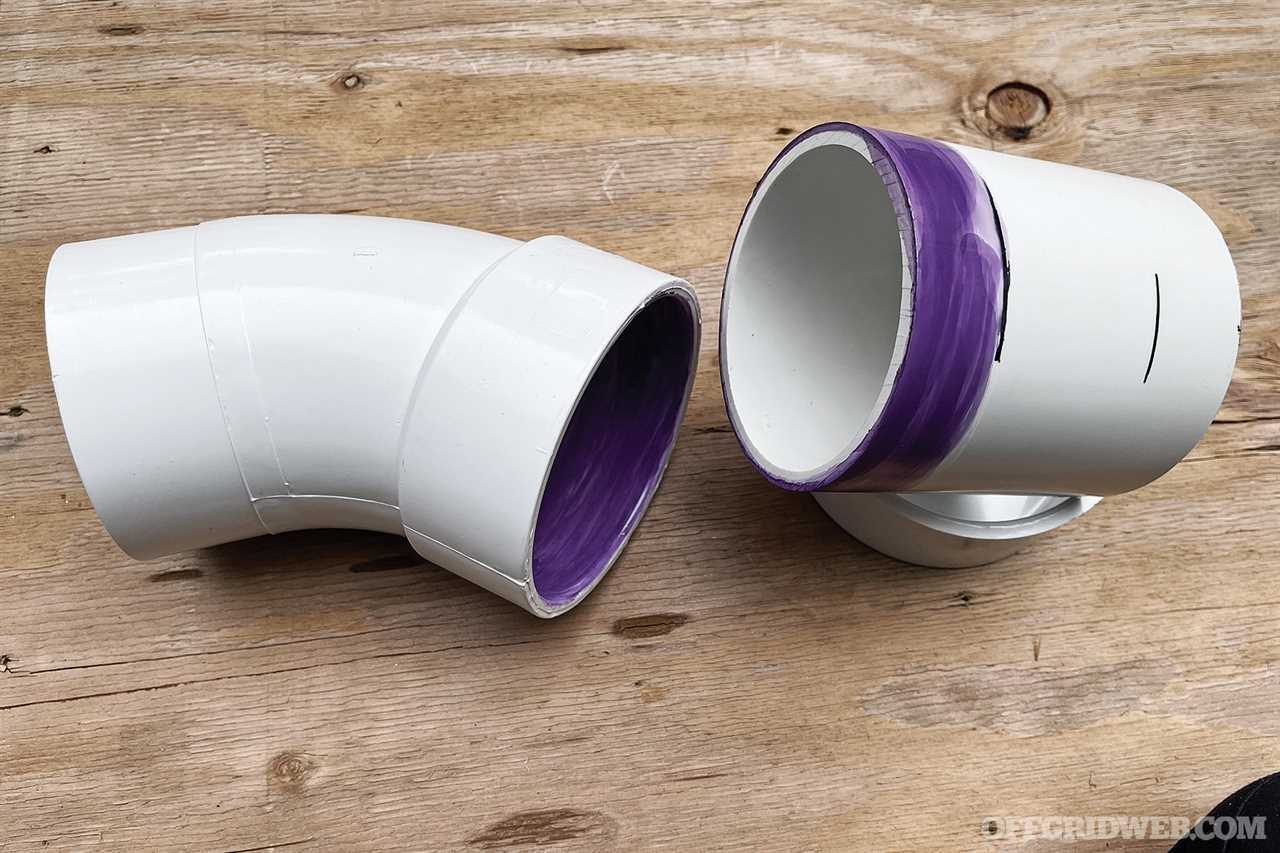
First clean the pipes with the appropriate chemical cleaner. Then, apply the primer. In this photo, my primer is purple. You'll need to do this to both the outer male portion and the inner female portion — anywhere the pipes will be in contact. And do only one piece at a time, as the primer and glue dry very, very quickly.
STEP 11: Assemble each glued piece quickly!
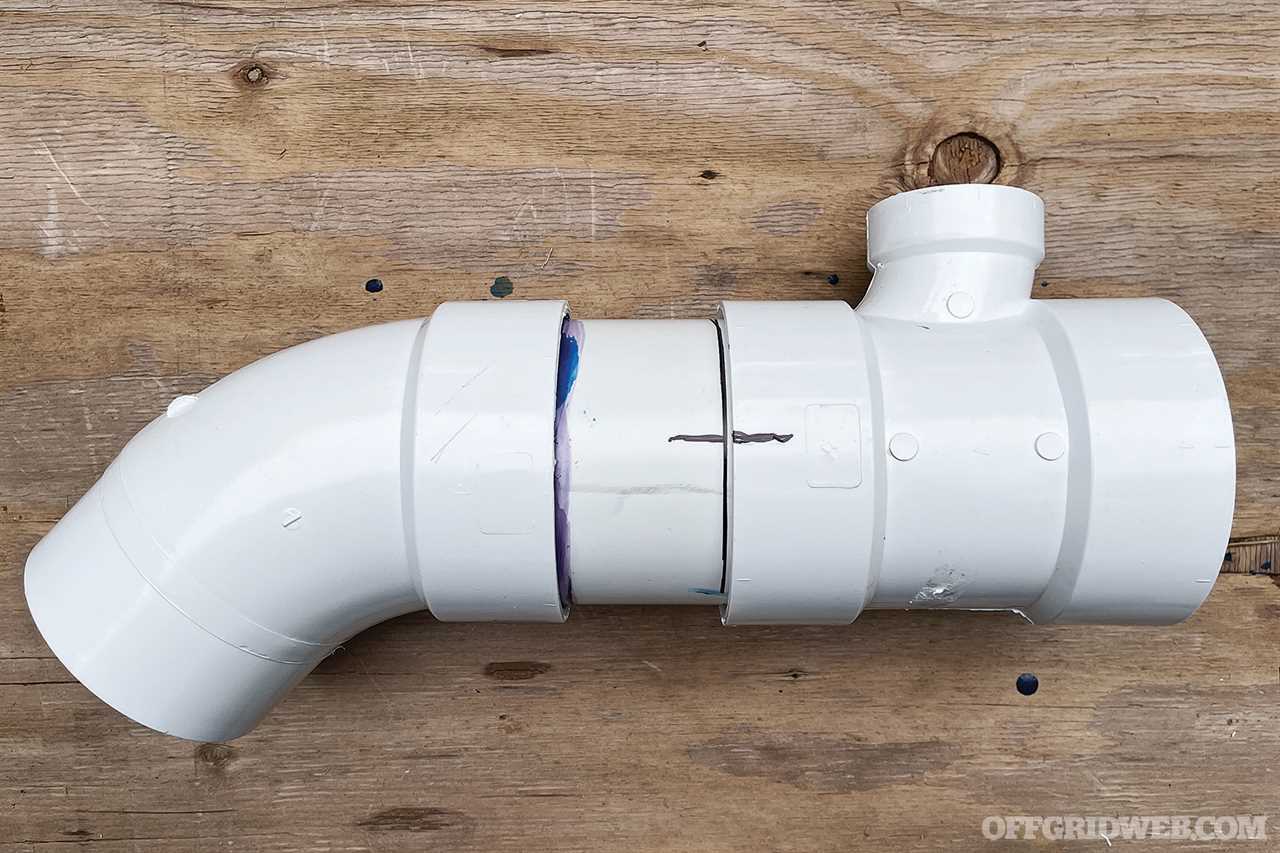
Apply glue to both the outer male portion and the inner female portion and quickly fit the pieces together. You only have a few seconds before the glue starts to harden. Note the horizontal alignment line and vertical reference lines.
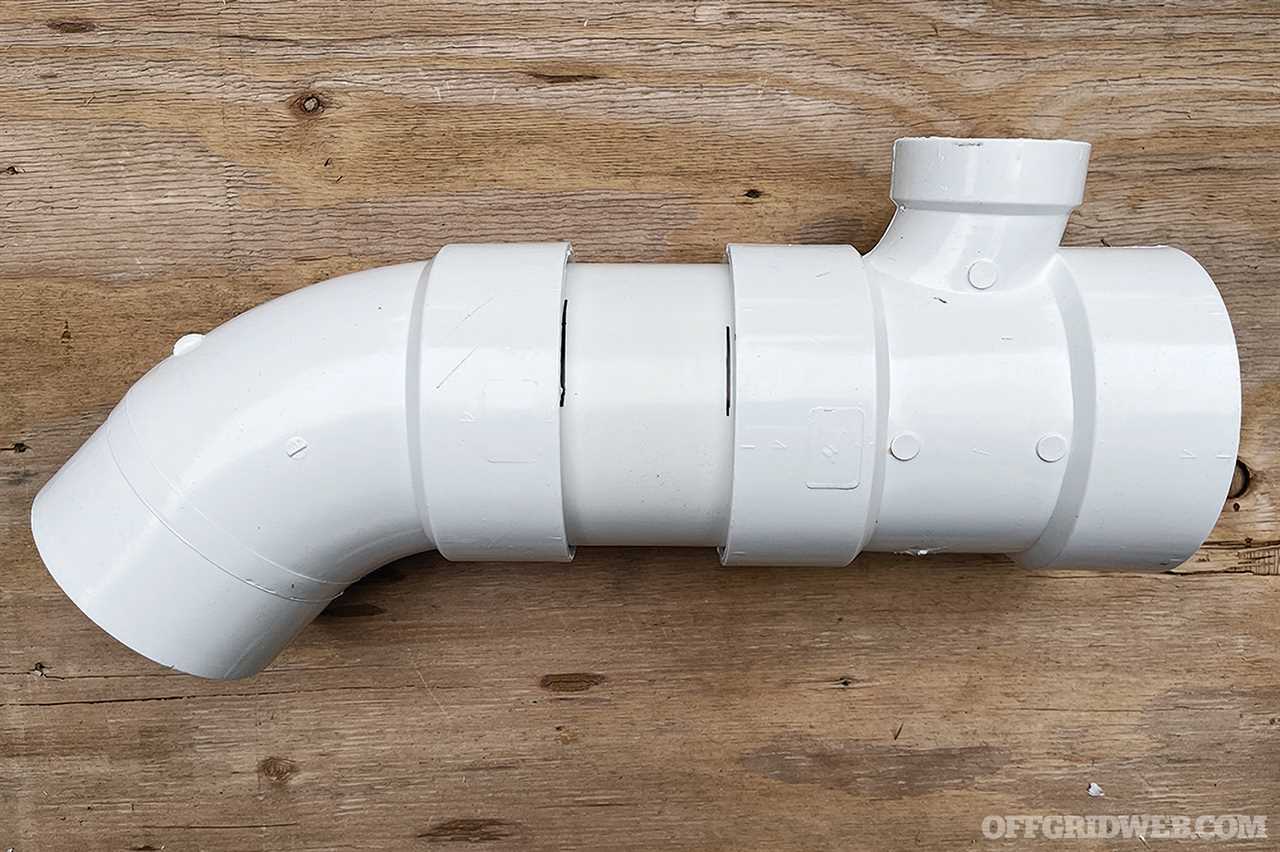
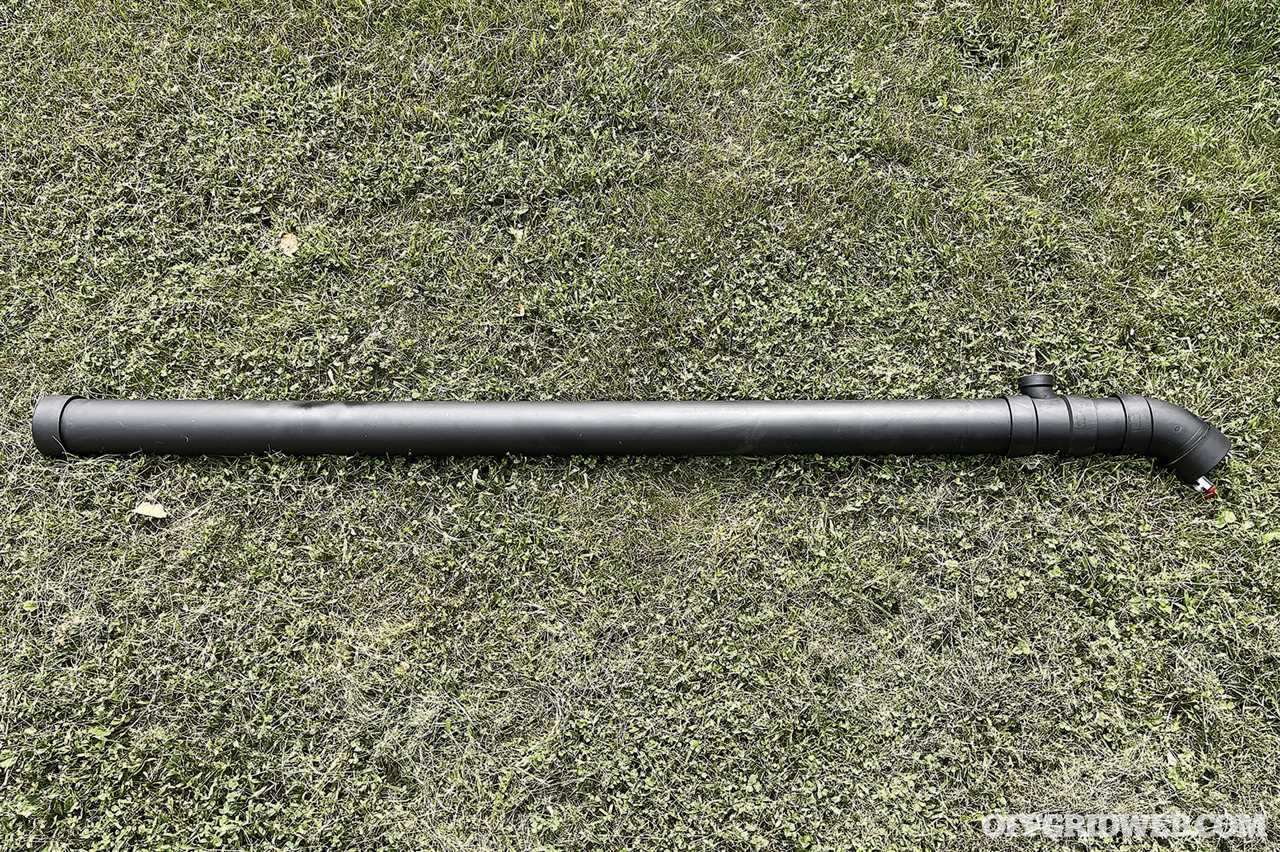
STEP 12: Stand back and observe your DIY road shower.
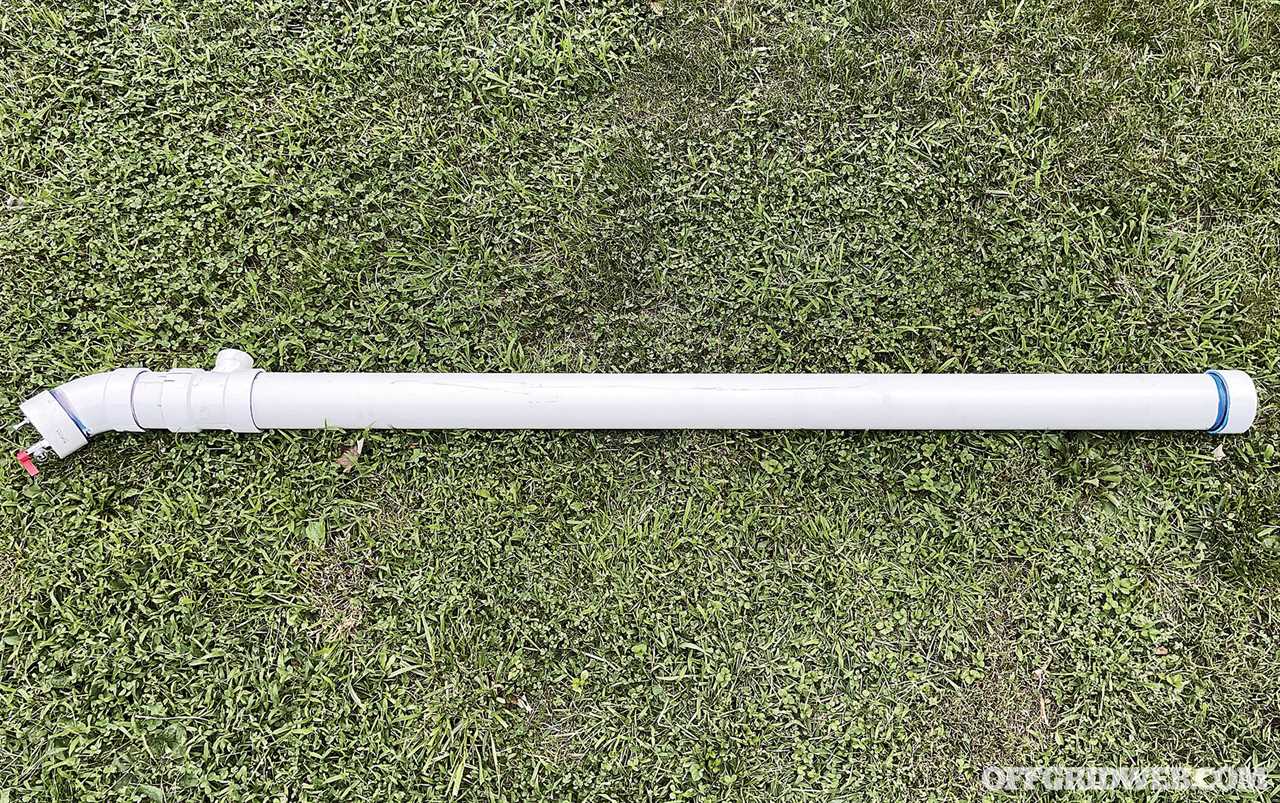
The completed assembly. From left to right: endcap with Schrader valve and spigot, 45-degree elbow, 8-inch spacer piece, T fitting, remainder of 7-foot pipe, endcap.
Pressure-Testing & Finishing
STEP 13: Check for leaks.
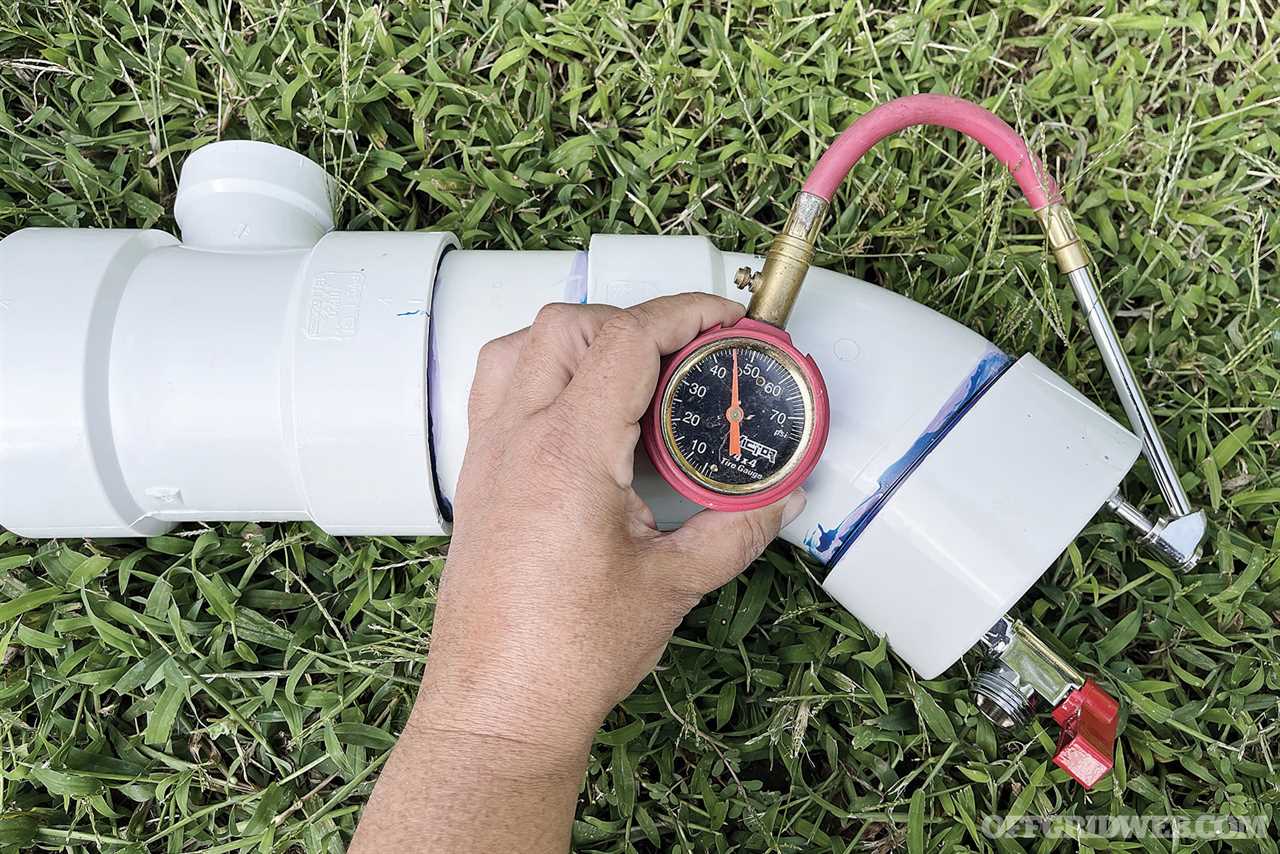
Once all the glue had dried, I put the 2-inch test plug tightly into the top of the T fitting and slowly pressurized the pipe to 45 to 50 pounds. I left it pressurized to almost 24 hours to ensure it was leak-free.
STEP 14: Prepare for paint.
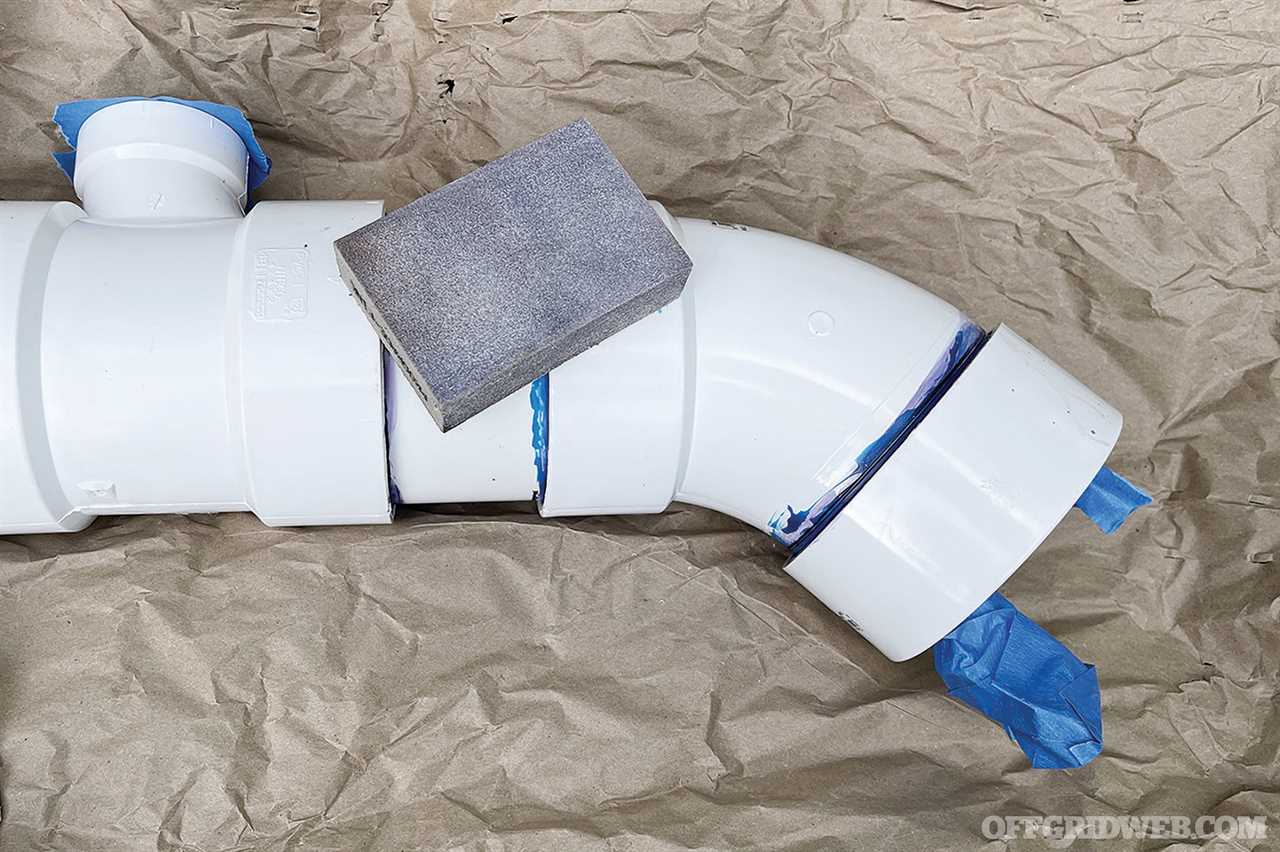
Sand the entire outer area of the pipe so that the paint will adhere better. Then, mask off any parts that you don’t want to get painted, like the spigot, Schrader valve, and inner portion of the 2-inch T fitting.
STEP 15: Apply black paint.
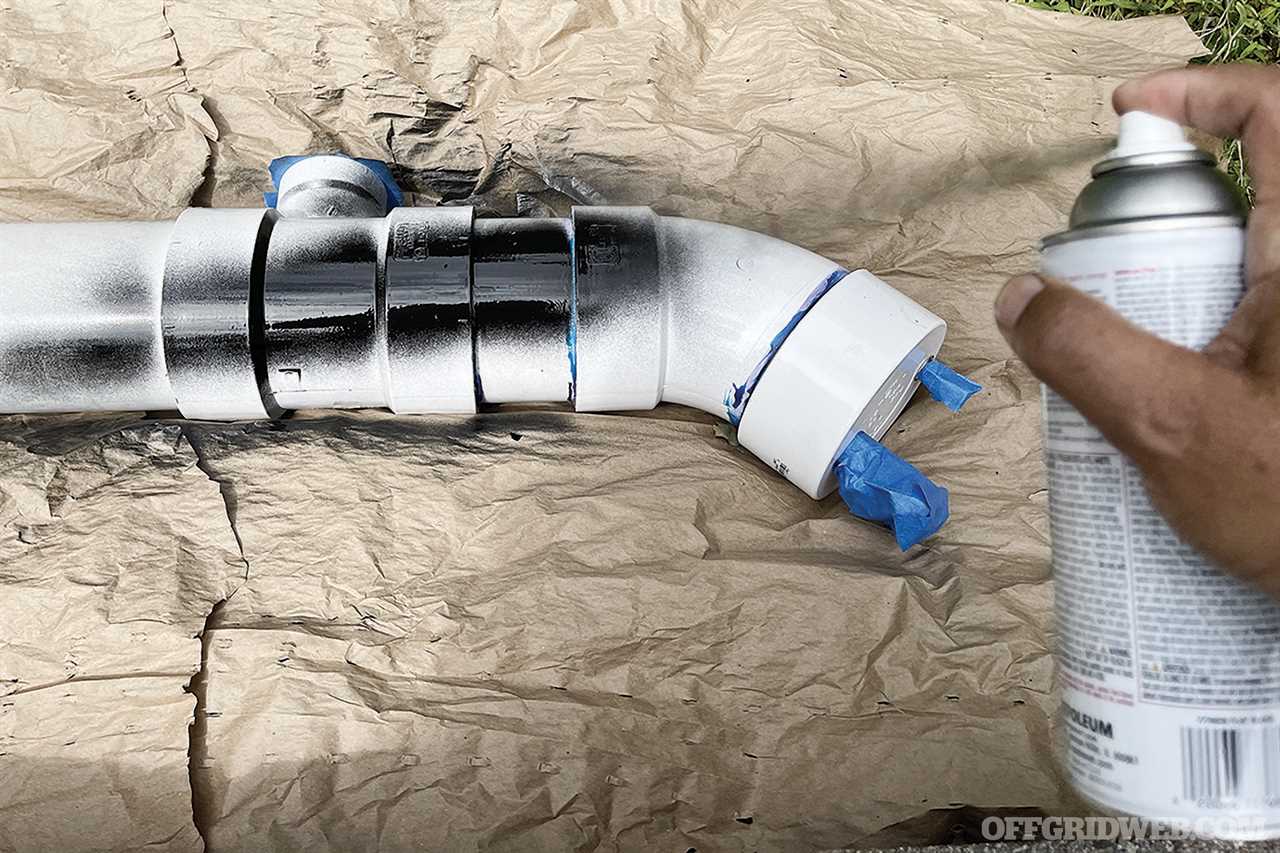
Paint with a flat-black paint, appropriate for painting plastic. Regular spray paint will scratch off very easily. You might also be able to use one of the rubberized spray paints for a textured/rubberized finish. Note that the paint protects the PVC from UV degradation, as well as helps it to heat up.
STEP 16: Mount your new solar shower.
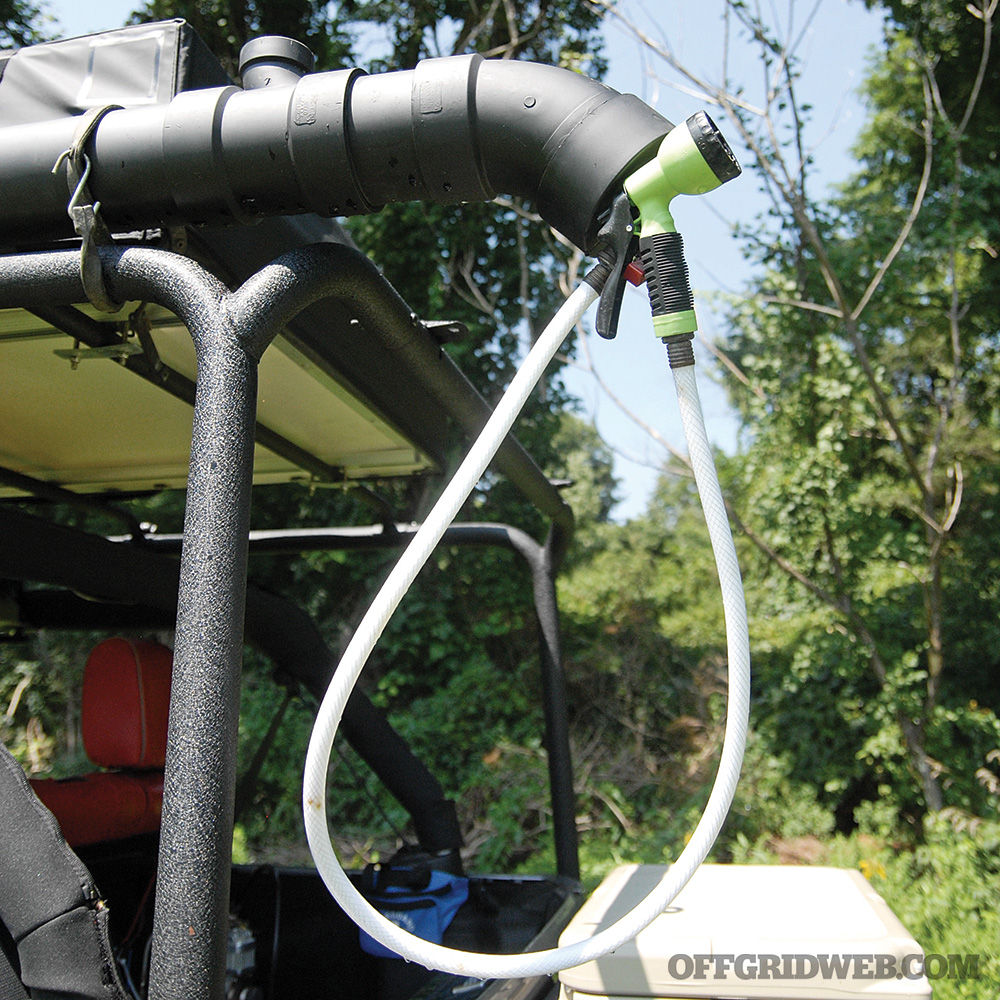
Once the paint dries, your assembly is finished. Add your preferred hose length and nozzle for convenience. I recommend you securely mount the solar water heater before filling it with water.
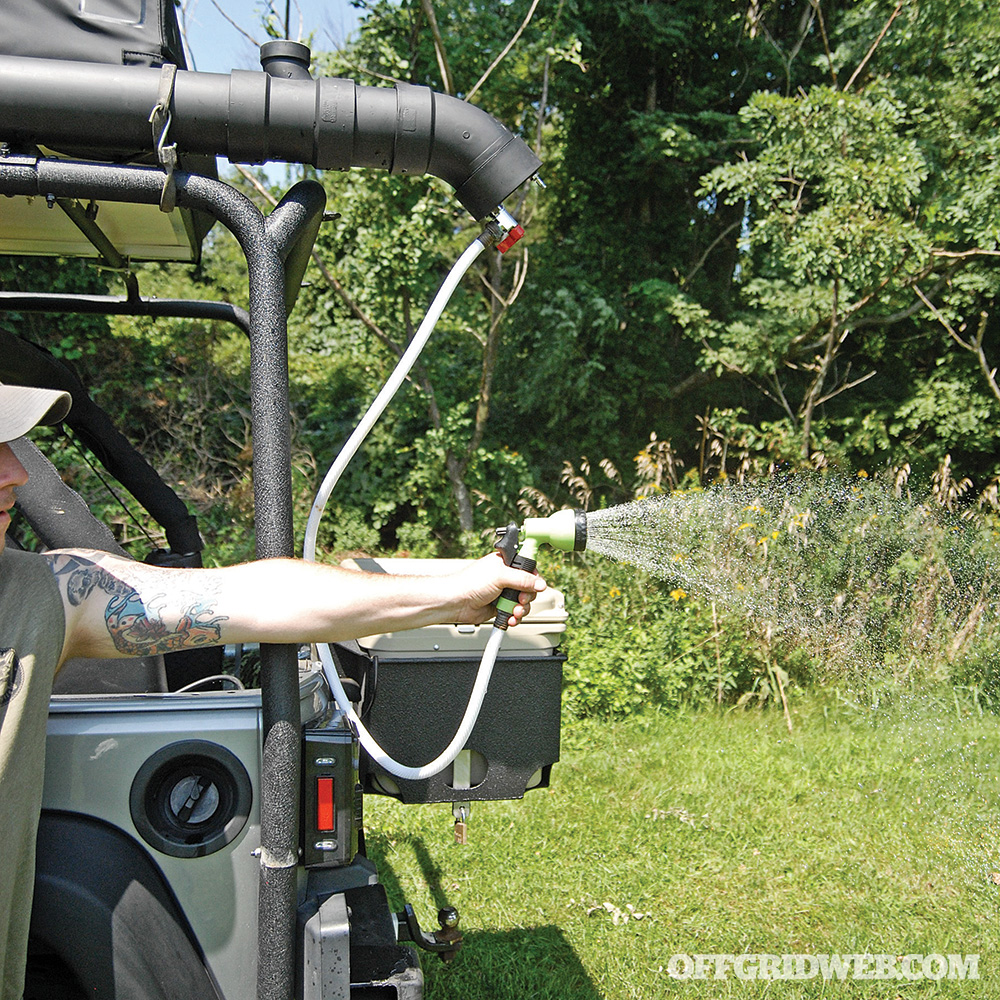
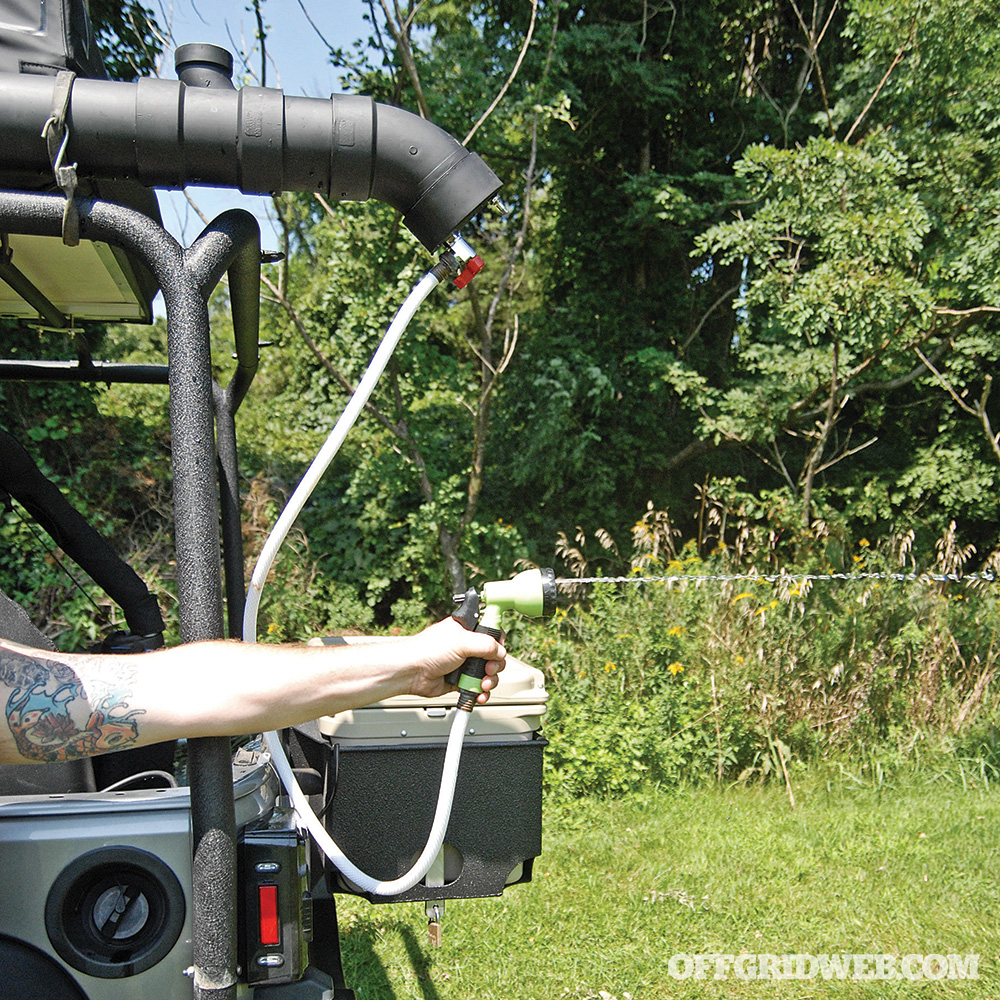
Above: When the unit is pressurized, you can use it for bathing, rinsing off cookware, or drinking. And the best part is it doesn't require electricity.
Additional Tips
If you’re going to use the gravity feed method, get the solar shower pipe up as high as possible to get a little more water pressure at the nozzle. It doesn’t take much air to pressurize the tank. Keep it to about 40 psi. And if you’re using an electric pump, it will only need to be on for a few seconds to get adequate pressure. After you use some water, you can add a little more air to keep the pressure to the desired level.
If you put the air fill valve at the highest point, it’ll be easy to relieve air pressure without a stream of water coming out. If you’re going to use different pipe dimensions, make sure it’ll have enough water for your application. A 4-inch pipe holds 0.6528 gallon per foot, 5 inches is 1.02 gallons, and 6 inches is 1.469 gallons.
When you attach the test plug to the fill port, make it really tight. You’ll want to use a wrench to keep the plug from launching like a rocket ship once you apply the air pressure.
Related Posts
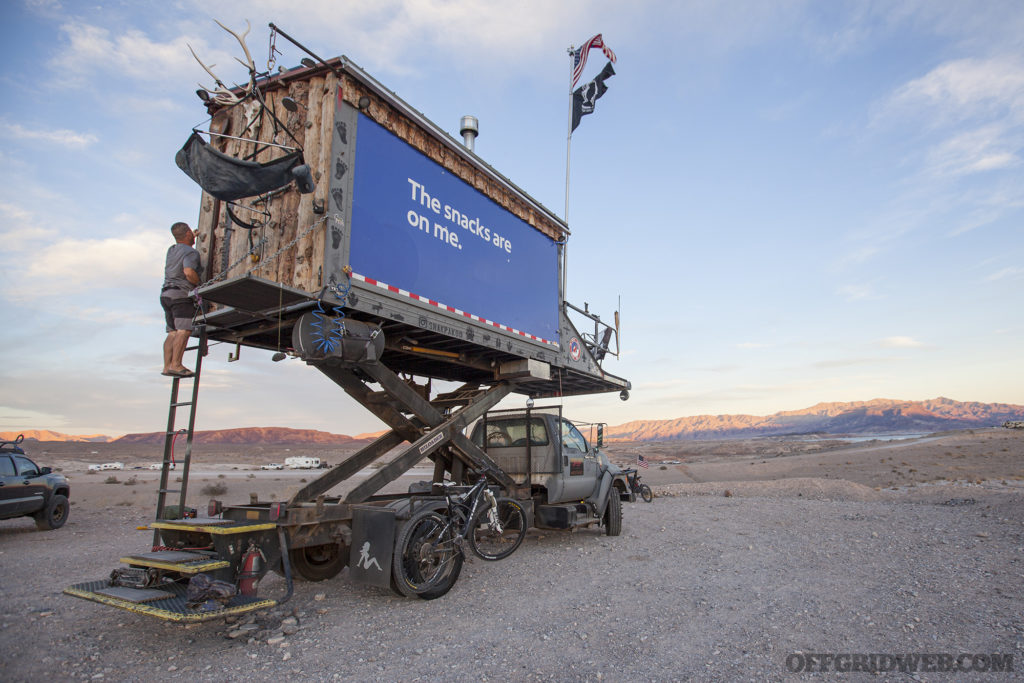
Snakpak: A Pilot's Off-Grid Home on WheelsPankey says he did 99.9% of the work on Snakpak himself, and it wasn’t easy. “I worked from 5 a.m. to midnight every day for 7 months."
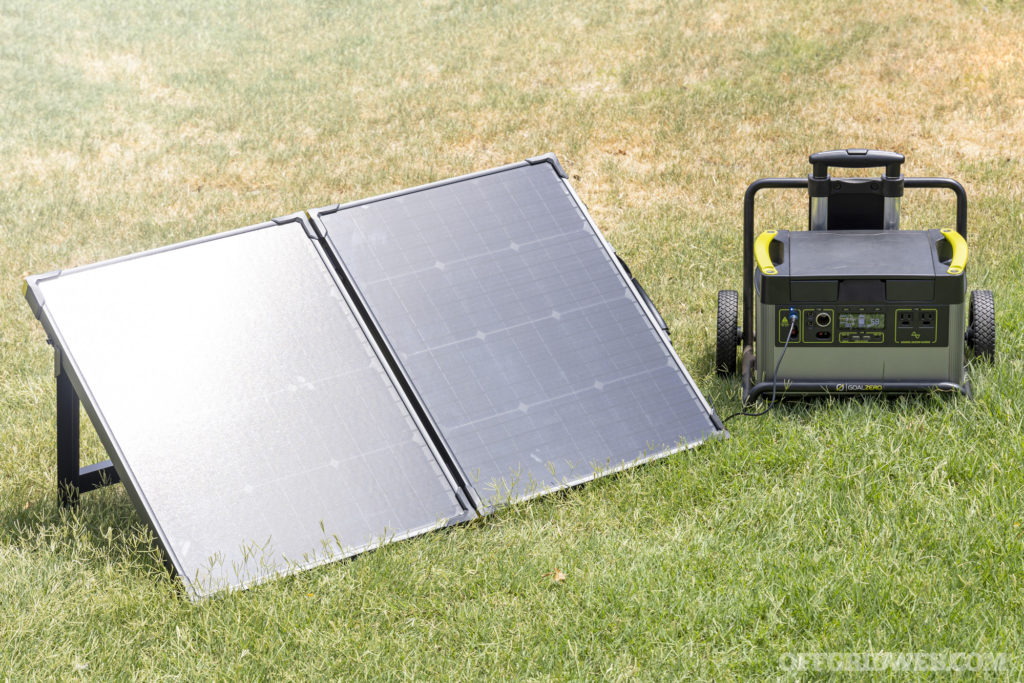
Review: Goal Zero Yeti 1500X Power StationEvery day, we take for granted the ability to access a virtually-unlimited supply of electricity. It keeps our food cold, our homes warm, and our lights on, not to mention a myriad of […]
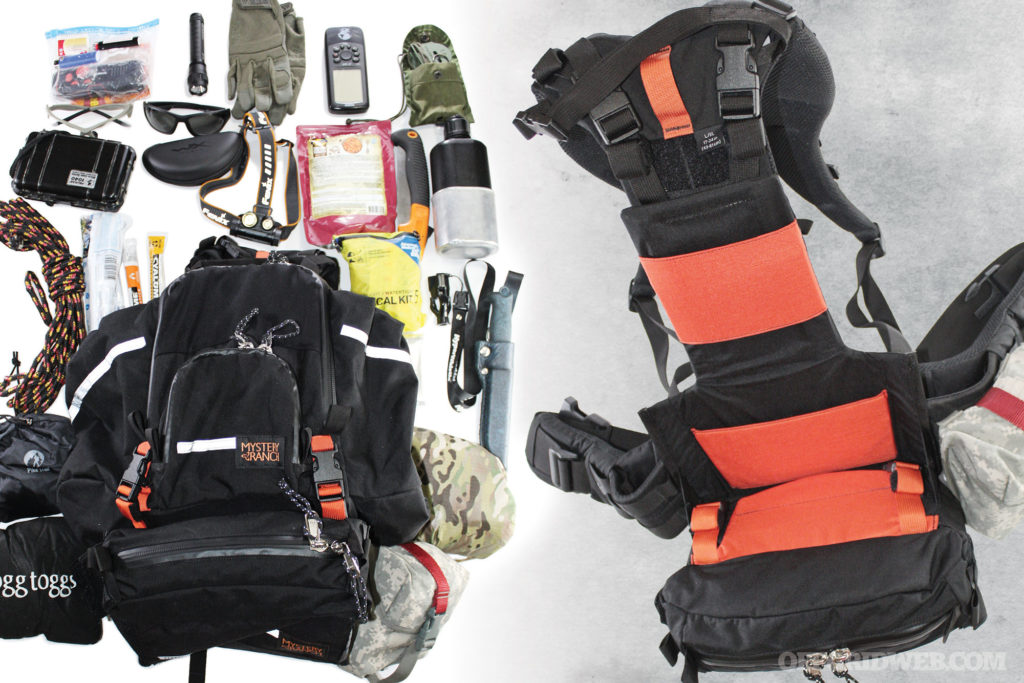
Bag Drop: Mystery Ranch Shift Plus 900 Modular BackpackWorking as a forester and volunteering for search-and-rescue incidents is demanding. The Mystery Ranch Shift Plus 900 is perfect for those tasks.

Midland MXT575 GMRS Mobile Radio Review & DIY InstallationThe new 50-watt Midland MXT575 GMRS mobile radio can easily connect to repeaters, mobile radios, and cheap Baofeng handhelds I already own.
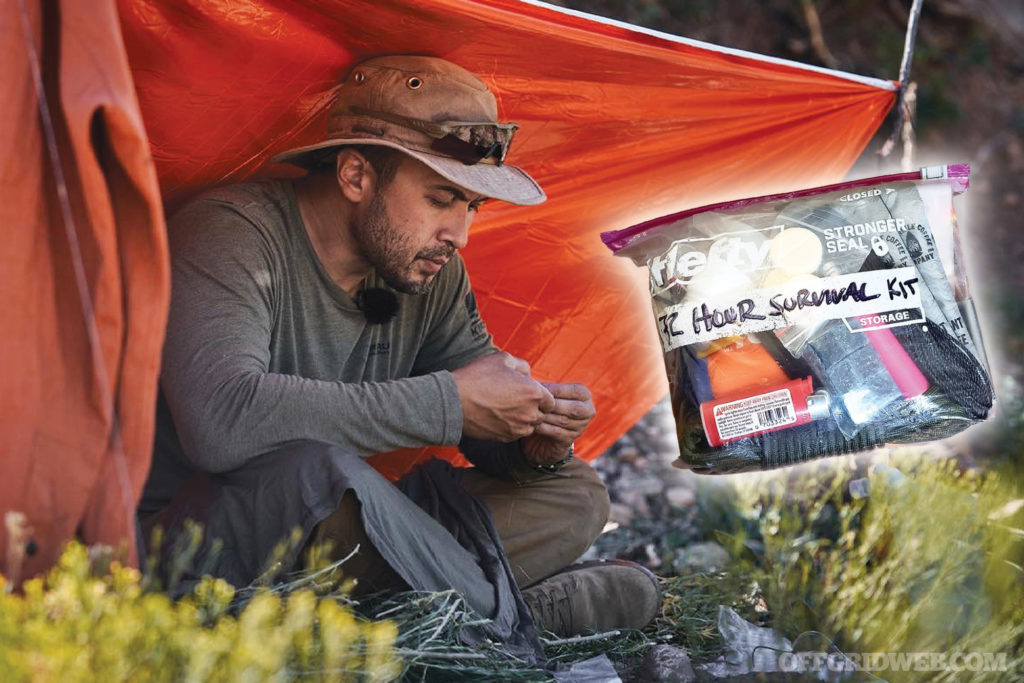
Fieldcraft Survival 72-Hour Ziploc Bag ChallengeFieldcraft Survival founder Mike Glover challenged me to survive for 72 hours in the desert with only the contents of a 1-quart Ziploc bag.
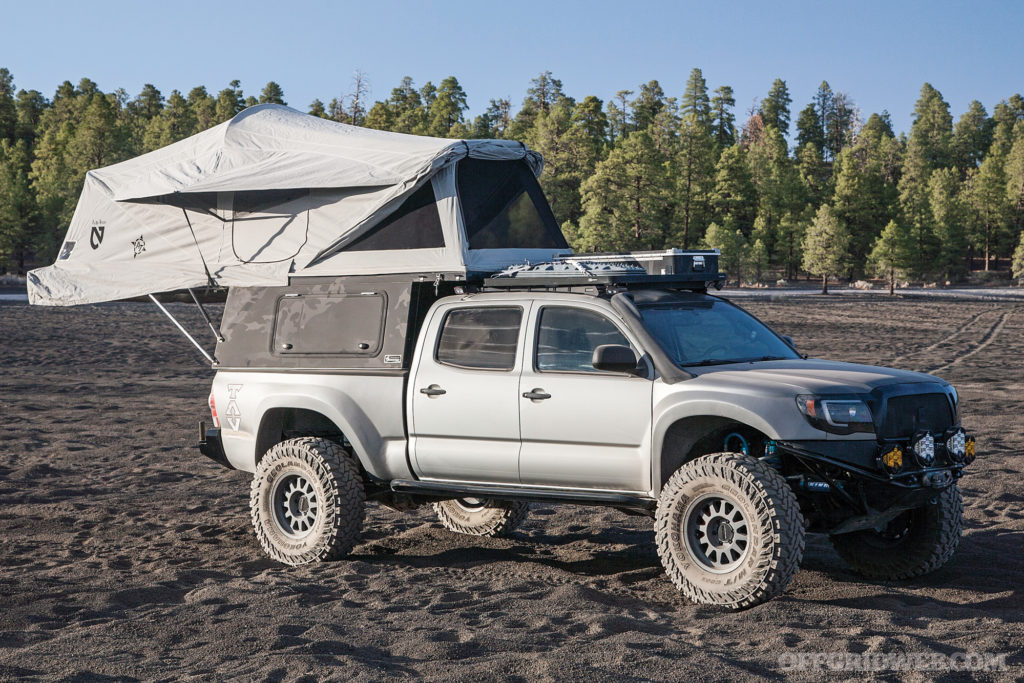
The TAV “Ranger Goat” Overland Tacoma BuildAfter his cousin passed, Walt inherited the truck and decided to use it to keep his legacy alive by building it into an overland Tacoma.
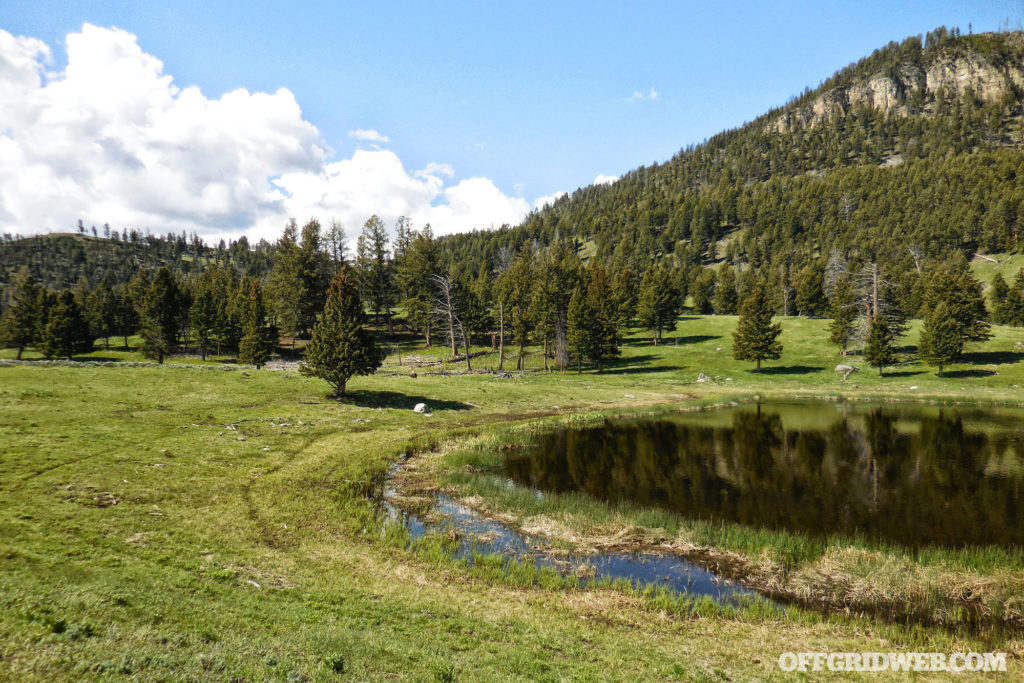
How to Choose a Homestead PropertyWhile there’s no such thing as a “perfect” homestead location, there are many variables to consider that will save you time and money.
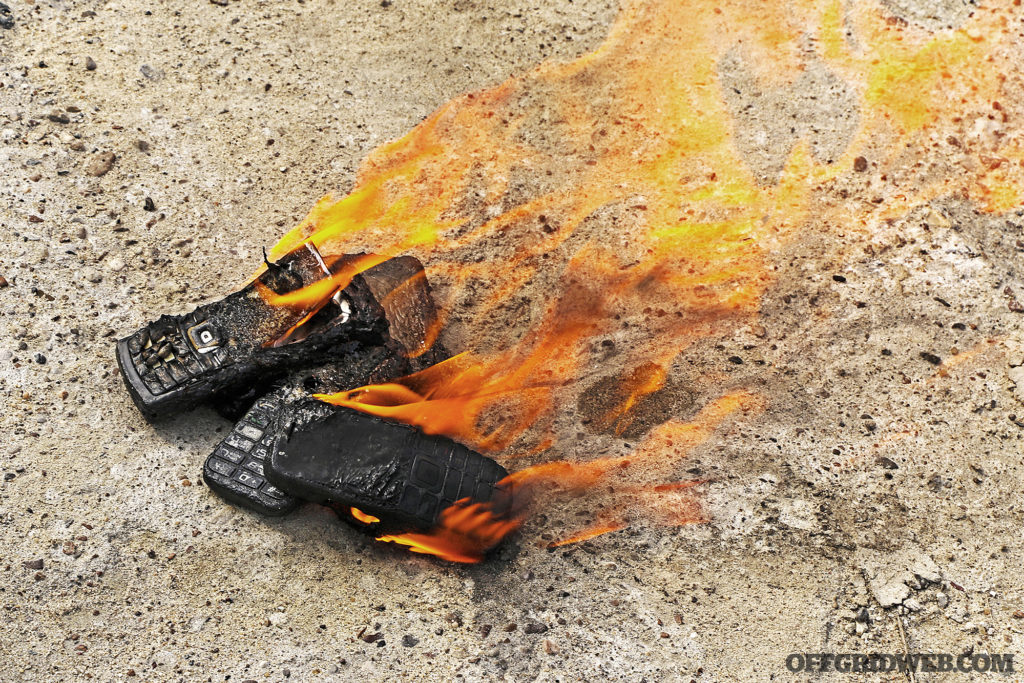
Burner Phone Basics: How to Set Up an Anonymous Prepaid PhoneToday, threats to privacy abound. Those of us who require anonymity can still get it through the use of a prepaid, disposable burner phone.
Video: DIY Overland Camper Build Time-LapseThis 10-minute time lapse video shows a DIY overland camper built from nothing but raw materials and a set of custom blueprints.
The post Rainmaker: How to Build a DIY Solar Shower for Your Jeep appeared first on RECOIL OFFGRID.
By: Offgrid Staff
Title: Rainmaker: How to Build a DIY Solar Shower for Your Jeep
Sourced From: www.offgridweb.com/transportation/rainmaker-how-to-build-a-diy-solar-shower-for-your-jeep/
Published Date: Fri, 25 Nov 2022 12:00:40 +0000
------------------------
Did you miss our previous article...
https://bushcrafttips.com/bushcraft-news/floridas-pepper-spray-laws-an-overview
 What is BushcraftSurvival SkillsToolsVideosBushcraft CampsBushcraft KitsBushcraft ProjectsPrivacy PolicyTerms And Conditions