One of the most important things you need to have on hand for a survival situation, and especially a long-term crisis or doomsday scenario, is food. But most kinds of food that we can buy, of any sort, just don’t last that long. Even good canned or dried food will usually go bad within just a couple of years at most…
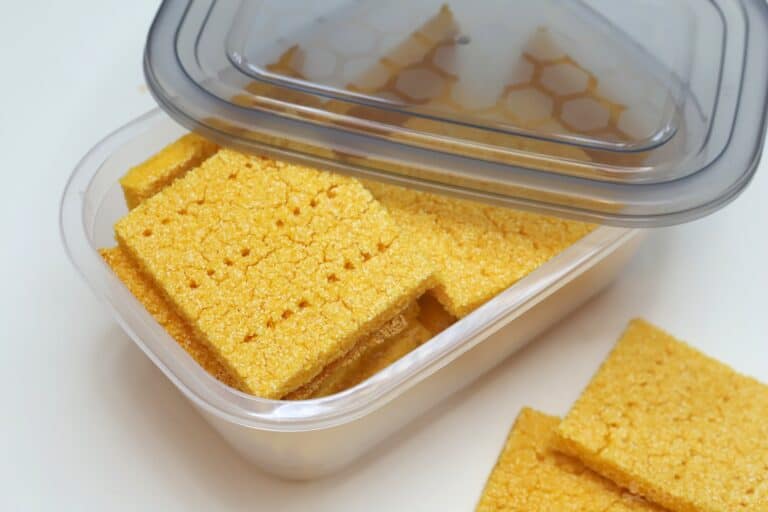
Specialized survival food that’s often marketed to preppers is probably good for a while, but the stuff is very expensive and when it comes to taste many brands leave a whole lot to be desired. A better option for most of us is to make our own.
Believe it or not, it’s possible to make filling and calorie-dense survival rations yourself, at home, with minimal ingredients, and very easily.
They aren’t going to win any awards for interesting flavors, but they will keep you alive and keep your stomach from grumbling. Keep reading I’ll tell you about my favorite doomsday ration recipe below…
Will This Cracker Recipe Really Last 5 Years?
Yes, they really can! If you prepare them properly and store them in a good airtight container in ideal conditions, these simple survival crackers will stay edible, nutritious, and most importantly safe for 5 years.
And even if they don’t, if the conditions aren’t great or they’re subjected to temperature swings, you can still usually get at least 2 years out of them.
Considering that they are dirt cheap and very easy to make, I think that’s a good deal and more than adequate for our purposes, especially if you just want to pad your survival pantry.
Are These Crackers Good?
They are… edible. I won’t lie to you: these crackers really aren’t great when it comes to flavor. They are plain, bland, hard, and not nutritionally complete. But they are a shelf-stable, long-lasting, and reliable source of calories, making them a versatile and dependable survival ration.
And, honestly, they’re better when you eat them with a mug of tea or coffee, as a side item or use them to bulk up other foods.
Remember, it’s about surviving!
Ingredients and Tools
Read through the list of ingredients and kitchen tools below and you’ll see just how simple this recipe really is.
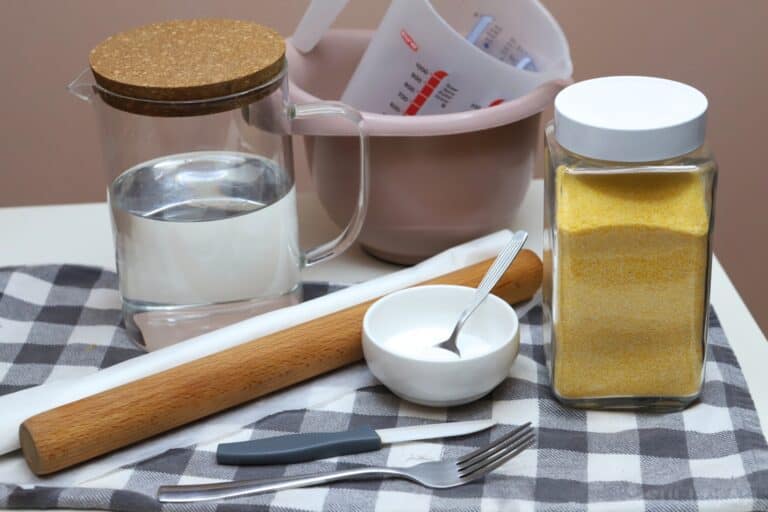
- Cornmeal, 3 Cups (450 grams): any type of corn meal that you prefer will work for this recipe, and white or yellow is fine.
- Salt, 3 Teaspoons: salt is critical for the purposes of preservation and also gives your crackers a little bit of flavor.
- Water, 1 ½ Cups (350 ml): just water. That’s it.
- Mixing Bowl, Medium: a medium-sized mixing bowl is adequate for combining your dry ingredients and forming the dough.
- Baking Sheet: any kind of baking sheet you have handy will work as long as it is a big one. The recipe above will produce many large crackers.
- Rolling Pin: a plastic or wooden rolling pin is fine.
- Fork: a common fork will work for pricking the dough. Use the tip of your knife if you don’t have one.
- Knife: a paring knife, chef’s knife or even a butter knife is all you need to cut the dough into squares.
- Parchment Paper: Don’t kid yourself, the dough will stick to the baking sheet otherwise. Use it.
- Pastry Cutter (optional): if you don’t have a knife or want to make nice, round edges on your crackers you can use a pastry cutter. It is strictly optional, and your crackers don’t have to be pretty to be safe and edible.
Like I said, there’s really nothing to it. On to the instructions!
Recipe Instructions
This recipe is super simple, but even so, I recommend that you read over all of the steps before you begin so you know what you’re doing.
Step 1: preheat oven. Preheat your oven to 375° F / 190° C.
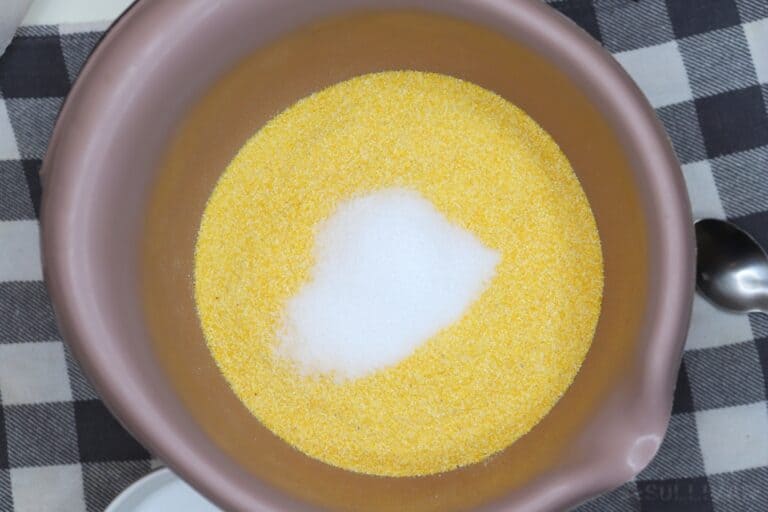
Step 2: combine cornmeal and salt, mix. In your mixing bowl, combine the corn meal and salt and it mixed them together using the fork or your hands. Ensure that they are thoroughly mixed together; this is crucial for baking and shelf life.
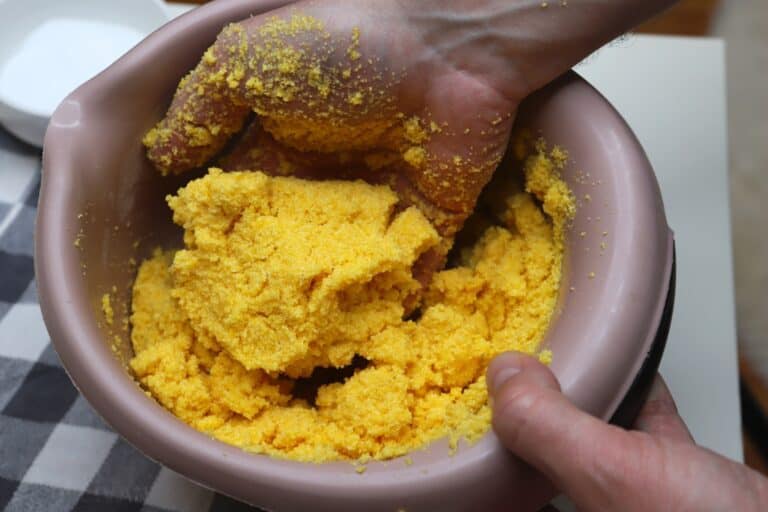
Step 3: slowly add water, mix with hands. Slowly drizzle in the water, mixing as you go with your hands.
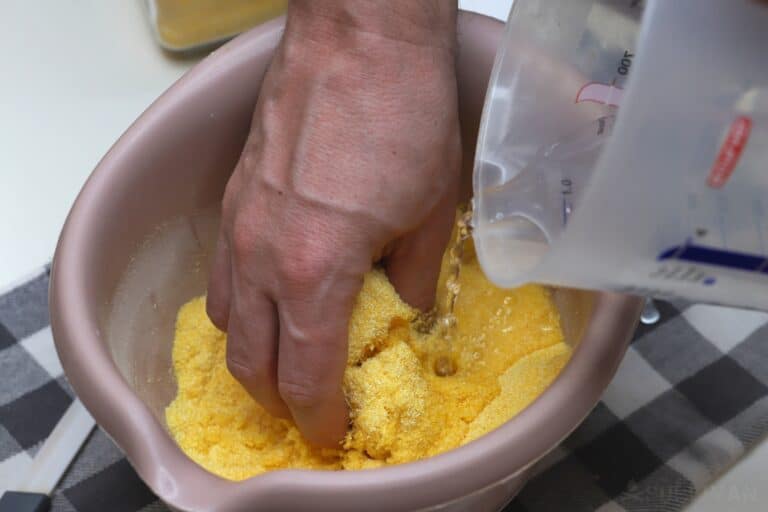
Step 4: keep adding water and mixing until dough forms. Continually add the water and mix, rolling the corn meal in on itself over and over until a proper dough starts to form. Once you have all the water evenly incorporated and no dry spots, move on.
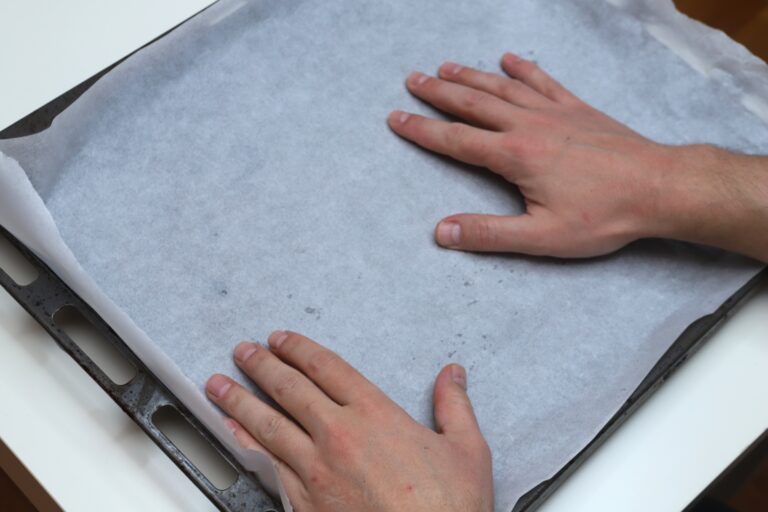
Step 5: place parchment paper. Easy peasy, you’ve probably done this a million times if you like to bake or cook with your oven.
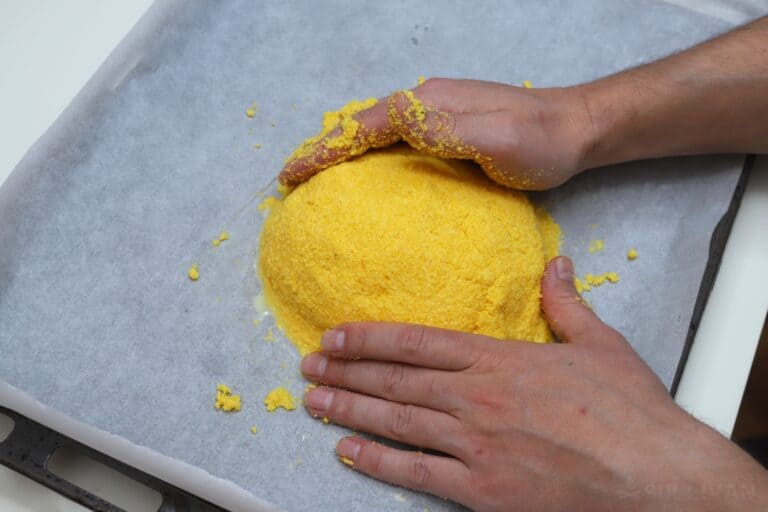
Step 6: transfer to pan. Place your dough ball on the baking sheet. We can’t flatten it on a countertop and then do the transfer because it will just crumble and lose shape. Same thing will happen if you try to cut it into squares before you transfer them.
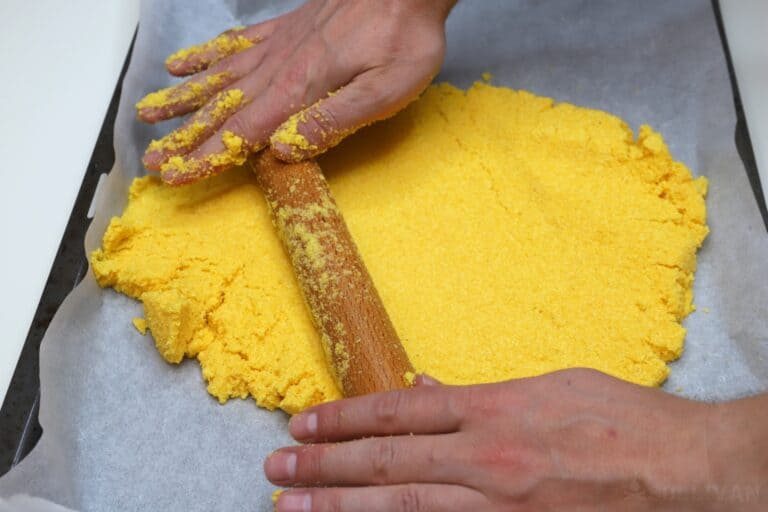
Step 7: roll dough out flat. your rolling pin to roll it out flat until it is uniformly a quarter of an inch thick.
Step 8: cut dough into squares. Grab your knife or your pastry cutter and slice through the dough to form uniform, square crackers. Each cracker should be a 3X3 inch or a 4×4 inch square.
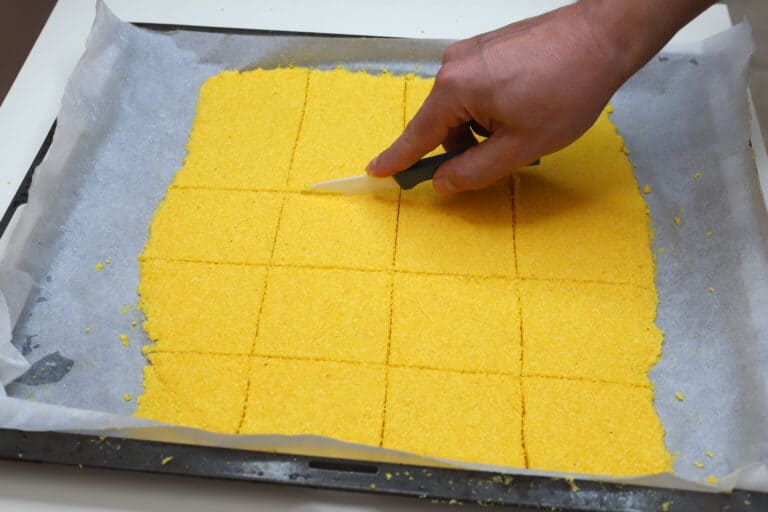
Step 9: prick dough with fork. Grab your fork and poke shallow holes in the dough. Make three evenly spaced rows of indentations going from one side to the other.
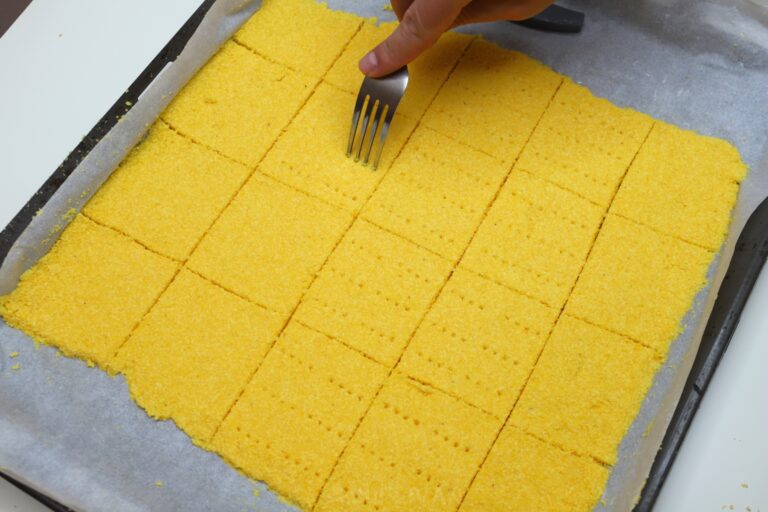
Do not poke all the way through the dough! You should only poke the fork in about halfway through. It’s more than enough for ensuring even baking.
Step 10: bake. Place your dough squares on the baking sheet and pop them in the oven. Set your timer for 45 minutes.
Check on them at the end of 45 minutes, and if they are an even, golden tan, they are finished. Depending on the size of your crackers and your specific oven, it might take more or maybe a bit less, so keep an eye on them.
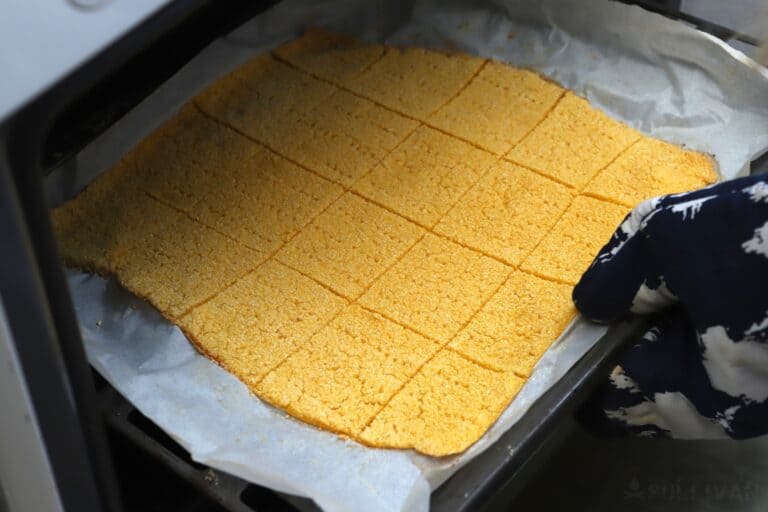
Step 11: remove and cool. When the crackers are finished baking, pull them out of the oven and set them aside to cool.
Step 12: separate the squares. Your squares will likely be glued to one another after the baking process, so take the time to separate them once more. I told you to use parchment paper. 🙂
Step 13: store. Once the crackers have completely cooled, they are ready to eat or store. Storing them, place them in an airtight container and then in a room temperature, dry, dark pantry or other location.
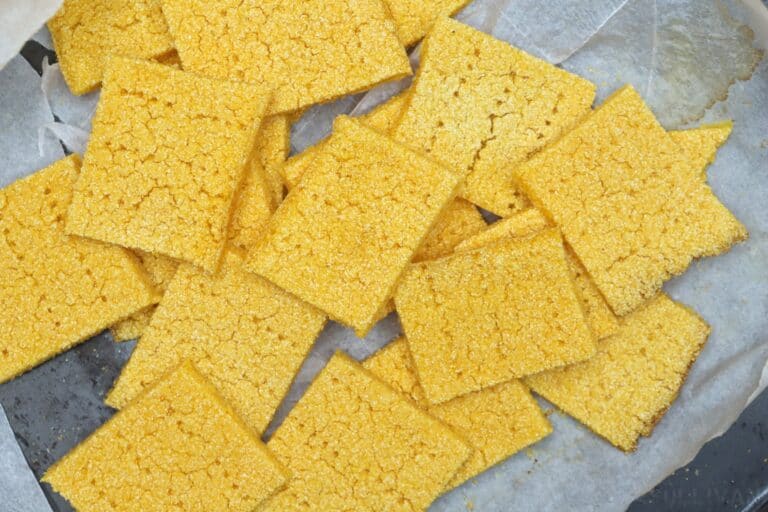
Step 14: finished! And you are done! Your survival crackers will last anywhere from 2 to 5 years depending on the quality of your storage container and the environment that you keep them in.
Storing Your Survival Crackers
You can use any food-grade, airtight storage container you want to keep your survival crackers fresh. Lots of folks use thick plastic zipper bags for the purpose, and they do work fine and are quite convenient.
I prefer using vacuum seal food storage bags for maximum longevity, or glass containers which seem to keep the crackers fresh and edible longer than plastic in my experience.
Again, don’t overthink it. As long as the container is airtight and you take care to keep the storage environment regulated and stable your crackers will last for a very long time. Don’t forget you can always whip up a new batch very cheaply and easily if they do go bad!
Recipe Variations
These survival crackers will definitely keep you alive, but they’re so boring and bland you or your family might go crazy from menu fatigue.
Don’t worry, I’ve got you. Below are a few recipe variations you might try to mix things up or try to please picky palates.
Make Traditional Hardtack
Were these survival crackers not boring enough for you? Do you wish they would last literally forever? I’ve got a recipe for you. Simply substitute white flour for cornmeal, keeping all other ingredients the same. This is classic hardtack and if you keep it dry and properly packed the stuff will last for decades. Yes, decades!
However, it’s incredibly hard and generally has to be softened by soaking it in water, coffee, or soup prior to eating. Don’t blame me if you crack a molar otherwise!
Add Sweetness Without Hurting Shelf Life
I know lots of folks like to dabble with adding sugar to these survival crackers and other similar recipes, but that’s a bad idea. Typically sugar will accelerate spoilage, and it definitely doesn’t do you any favors when it comes to attracting pests.
A better option is to drizzle in just a couple of tablespoons of honey. It will add sweetness, but it’s far less prone to promote spoilage in this recipe.
Herbs and Spices
Another thing that I’ve experimented with is adding various spicesand herbs . Italian spice blends, other mixed herbs, red pepper flakes, black pepper, and others can give these crackers much-needed flavor.
However, as unlikely as it seems, the oils and all these spices, even dried spices, can promote spoilage because they’ll go rancid.
If you add them sparingly, and I mean a pinch or two, you can improve flavor and not significantly reduce shelf life. Ultimately, add more but plan on eating your crackers within a year and make sure you check on them often to rotate them as needed.
Cheesy Survival Crackers
Who doesn’t love a delicious cheesy cracker? I know I do, and one of my biggest snack food weaknesses or anything that is packed with cheese and crunchy. There’s just something about it.
Surprisingly, you can make your own delicious cheesy survival crackers and still get a good shelf life out of them as long as you add a hard, dry cheese. Cheddar and parmesan both work well, but you’ll only want to add about half a cup, maybe a little bit more, to the recipe above.
As expected, your crackers aren’t going to last anywhere near as long, but you can still get a year out of them. Not bad!
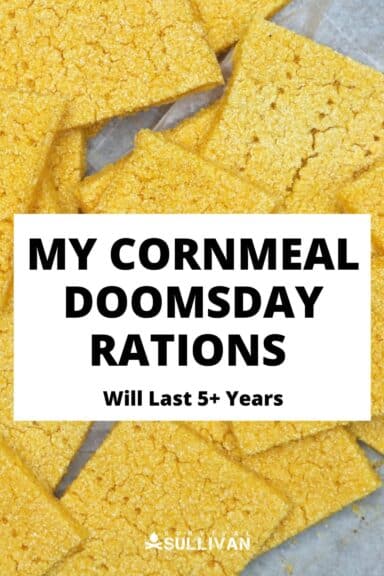
The post My Cornmeal Doomsday Rations Will Last 5 Years appeared first on Survival Sullivan.
By: Tom Marlowe
Title: My Cornmeal Doomsday Rations Will Last 5 Years
Sourced From: www.survivalsullivan.com/homemade-doomsday-rations/
Published Date: Sun, 11 Feb 2024 18:38:36 +0000
------------------------
Did you miss our previous article...
https://bushcrafttips.com/bushcraft-news/so-why-is-damascus-steel-so-expensive
 What is BushcraftSurvival SkillsToolsVideosBushcraft CampsBushcraft KitsBushcraft ProjectsPrivacy PolicyTerms And Conditions
