If you enjoy collecting and using knives like we do, it's important to know the terminology associated with blade designs. You can probably get away with referring to “the stabby part”, “the sharpened bit”, and “the thing you hold onto”, but you're not exactly going to sound educated on the subject. Using the correct knife anatomy terms eliminates confusion and shows you know what you're talking about.
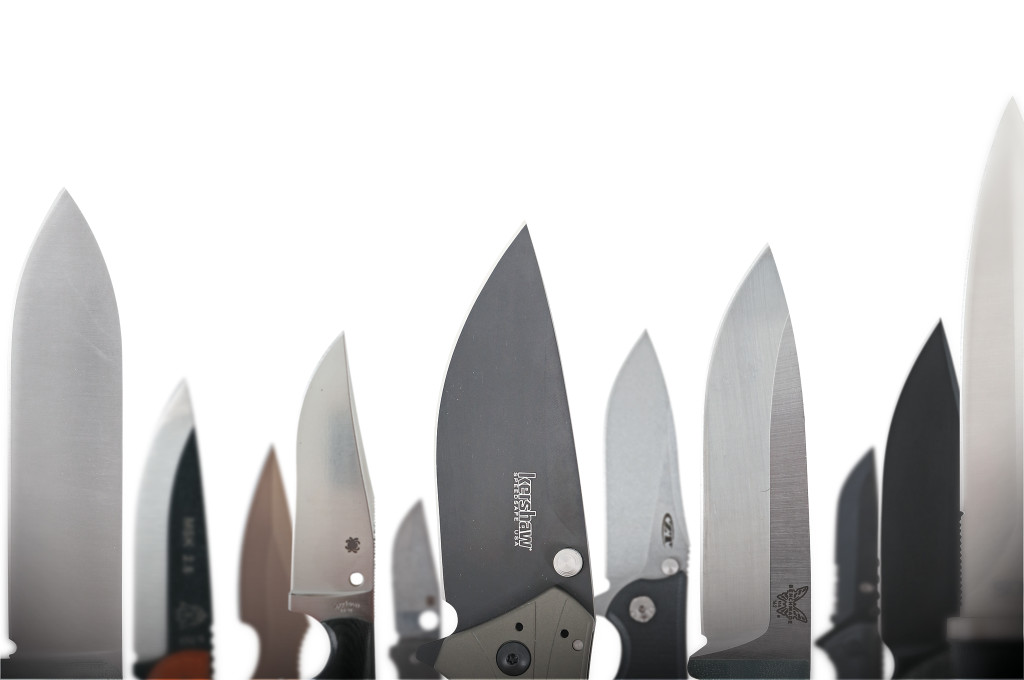
Every knife has its own unique characteristics and variations—like snowflakes, but deadly.
We'll admit that knife terms can be confusing and hard to remember at first. So, we've created the infographic below to illustrate 20 different parts of a fixed blade knife. Specifically, we used the TOPS Knives Hazen Legion 6.0 for this illustration—you can read our complete review of this fixed blade here.
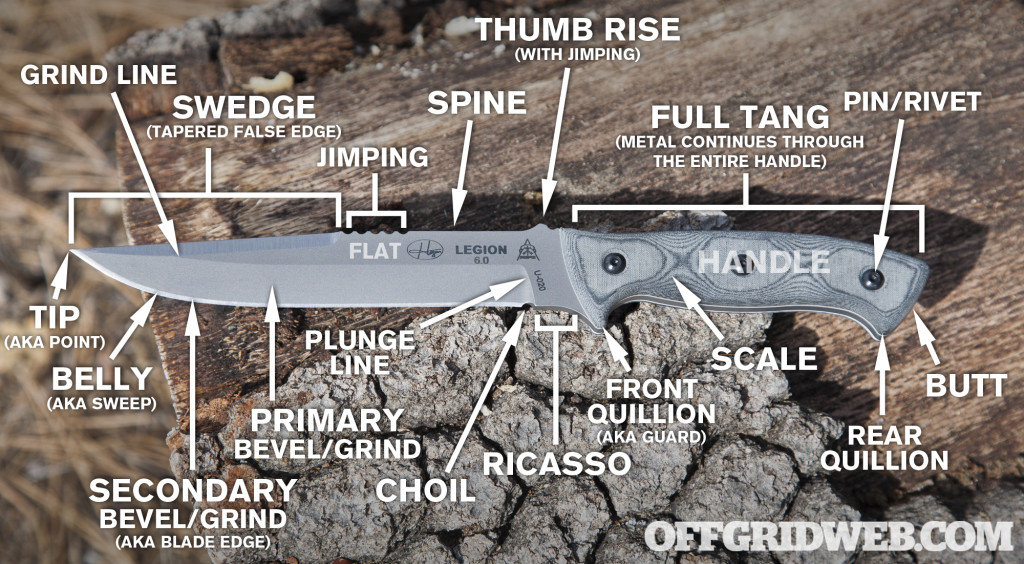
Here's some more detail on each term, since we couldn't fit it all in the diagram above:
- Grind Line – The meeting point of a grind with a flat surface or opposing grind. In the illustration above, the line shown is where the swedge meets the flat and the primary bevel.
- Swedge (also spelled swage) – A tapered or beveled false edge (usually not fully sharpened) along the spine of the knife. It reduces the point thickness for improved piercing ability.
- Jimping – Repeating ridges or cuts. These may be decorative (such as those on the spine), or used for additional grip on the knife (such as those on the thumb rise).
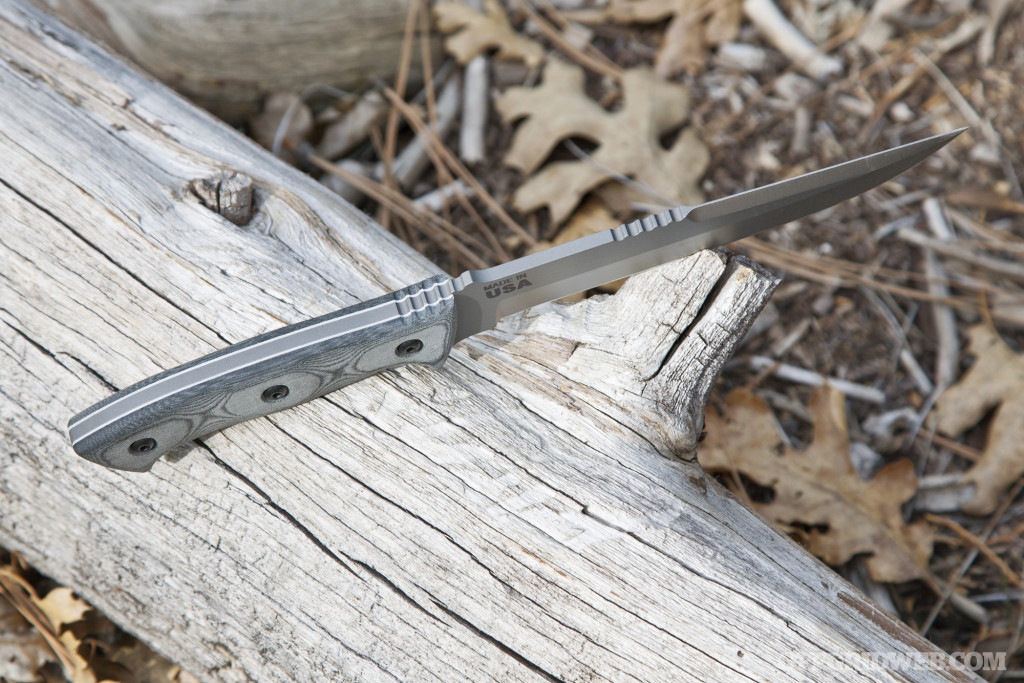
This knife features jimping on the thumb rise and further forward on the spine.
- Spine – The top edge of the knife, opposite the blade edge. The spine runs all the way from the tip to the butt.
- Thumb Rise (also called thumb ramp) – A slight incline in the spine, meant to provide a place for the user's thumb while cutting.
- Tang – A continuation of a fixed-blade knife's metal into the handle. The TOPS knife above is “full tang”, meaning the metal continues through the entire handle, all the way to the butt.
- Pin/Rivet – Hardware that holds the scales onto the handle.
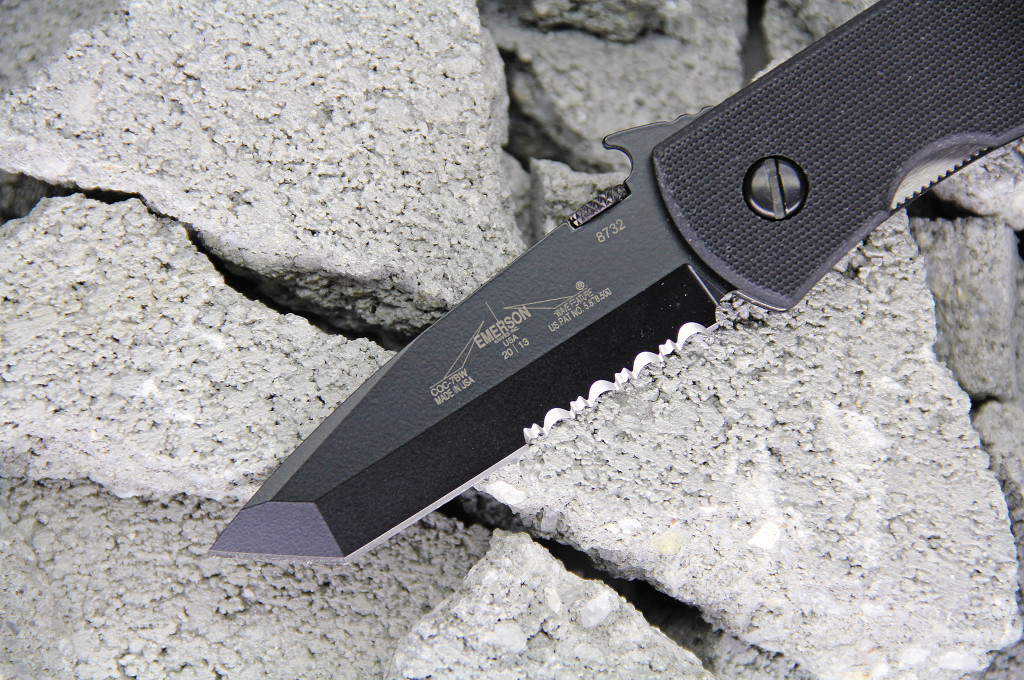
An Emerson logo and model information are etched onto the flat of the CQC blade.
- Flat – The unground face of the knife. You'll often find etching or emblems applied to this flat surface.
- Handle – The part you hold. This one's easy to remember.
- Tip (also called point) – Exactly what it sounds like. Technically, the tip is the very end of the point, and the point includes the first few inches of the knife.
- Belly (also called sweep) – The upwards-curved section of the blade edge. Some knives, such as the Wharncliffe design, lack a curved belly.
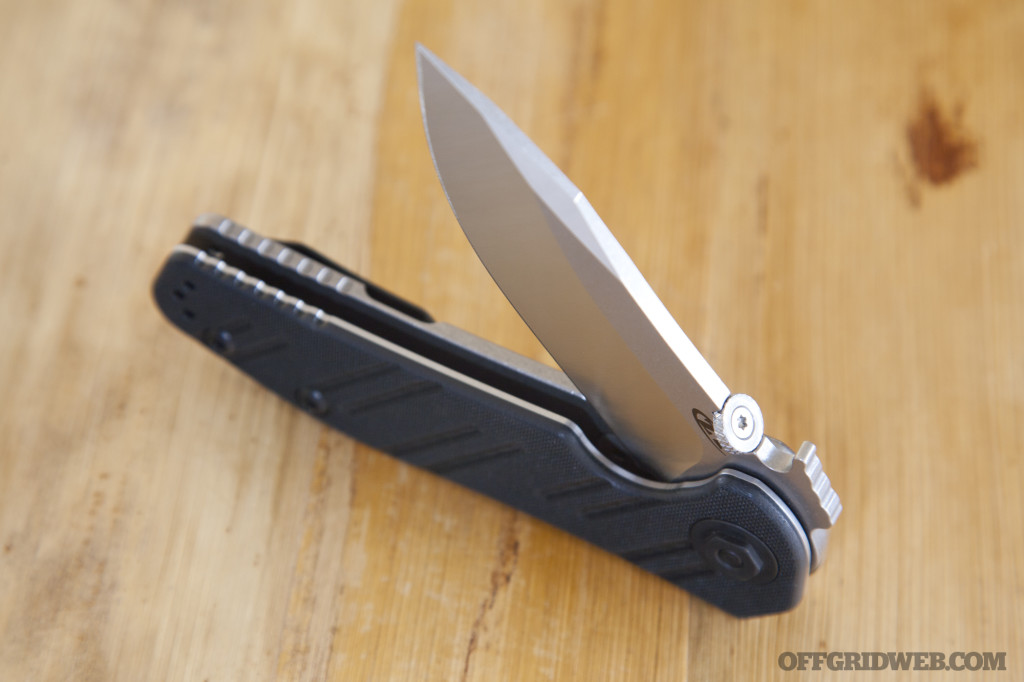
The ZT 0630 features a prominent swedge and compound grind.
- Primary Bevel or Primary Grind – The first grind applied to the knife edge. Many knives only have a single bevel that forms the blade edge.
- Secondary Bevel or Secondary Grind – The second grind applied to the knife, which alters the primary bevel to a new angle. Knives with two bevels (like this TOPS knife) are considered “compound” or “double” beveled.
- Plunge Line – The abrupt ending of the bevel, where it meets the flat near the handle.
- Choil – A curved indentation or notch at the end of the blade edge. Sometimes this can be large enough to fit a finger into, but on the knife above, it's quite small.
- Ricasso – A thick, flat, unground portion between the end of the bevel(s) and the beginning of the handle.
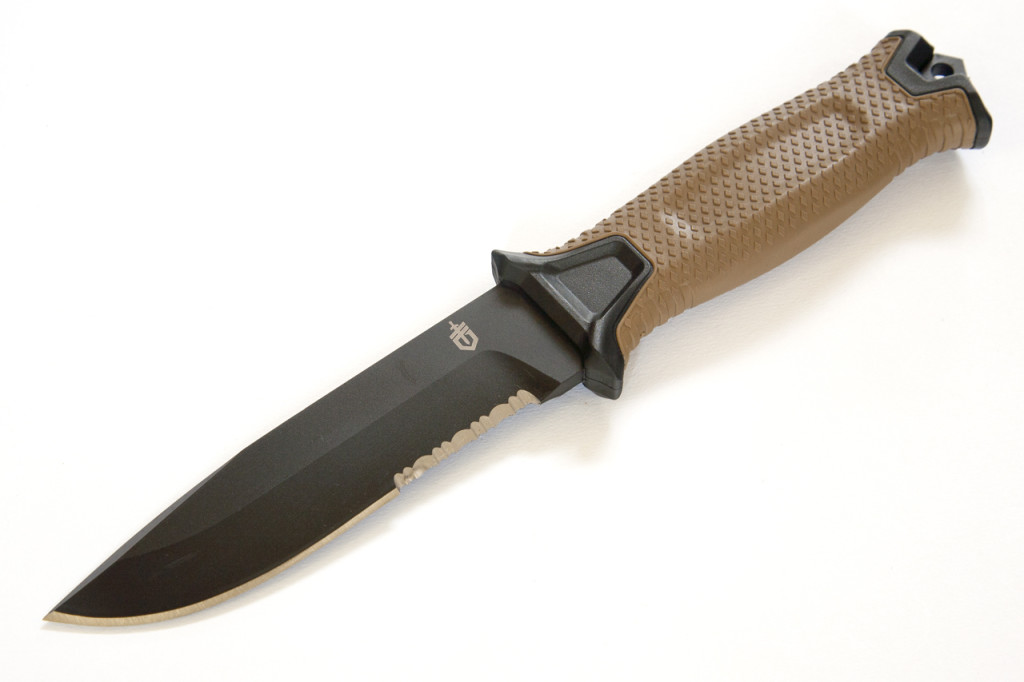
The Gerber Strongarm has serrations, a prominent plunge line, and a short ricasso.
- Front Quillion or Front Guard – Part of the knife handle that prevents your fingers from slipping onto the blade while pushing the knife forward.
- Rear Quillion or Rear Guard – Part of the handle that prevents your fingers from slipping while drawing the knife backward.
- Scales – Pieces of handle material (such as wood, bone, or polymer) that are attached to the knife's tang via rivets, pins, or other hardware.
- Butt – The rear end of the knife, which may contain a lanyard hole or glass breaker. Some knives may have separate metal pommels attached here.
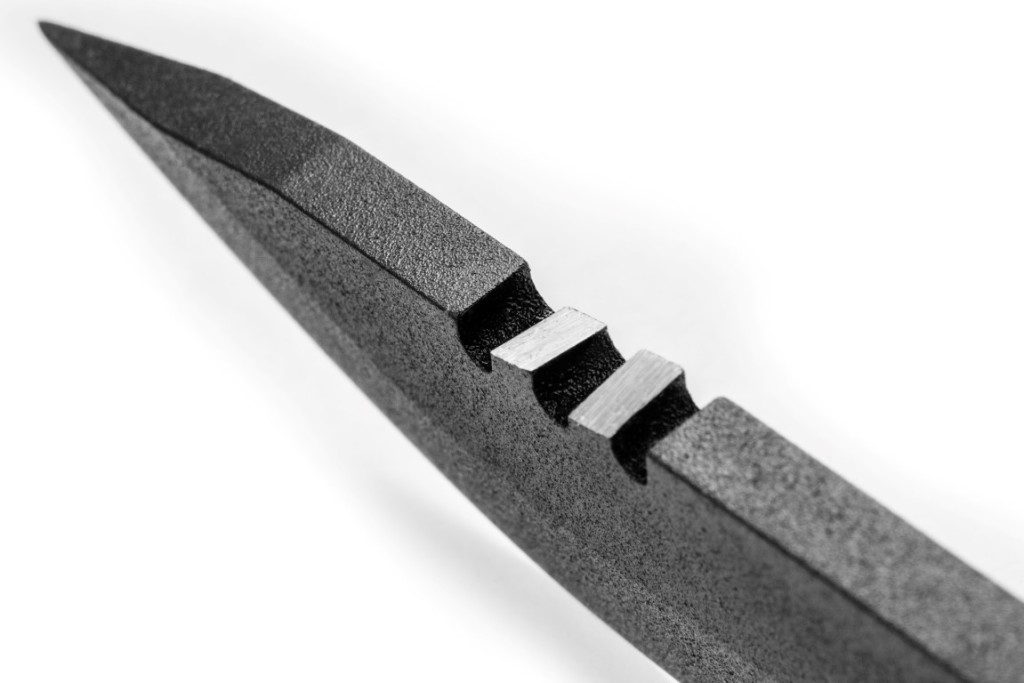
The TOPS Anaconda has decorative elements cut into its wide spine.
Our infographic on knife anatomy should give you a good head start on the key elements of a blade, but there are a few other terms that we didn't show there. Here are a handful of additional terms you might hear:
- Bolster – A thick junction between the handle and the flat of the blade. Bolsters can be found at the front and the rear of some knives, and they strengthen the knife and add balance.
- Guard – Part of the handle that prevents the user's hand from slipping. A curved quillion on the handle may form the guard, or a knife may have a separate guard plate installed between the handle and blade.
- Fuller (also called cannelure or blood groove) – A groove cut into the blade, often at the center of double-edged knives and swords. These have been called “blood grooves” due to the myth that they release suction or vacuum created by stabbing a living thing, thus allow blood to run out more easily. However, there is little to no evidence that this actually happens. In reality, a fuller lightens the blade by removing steel, and may also stiffen some blade designs (such as a broadsword).
- Serration – Repeated jagged cuts into the blade edge, providing the ability to saw and tear through tough materials.
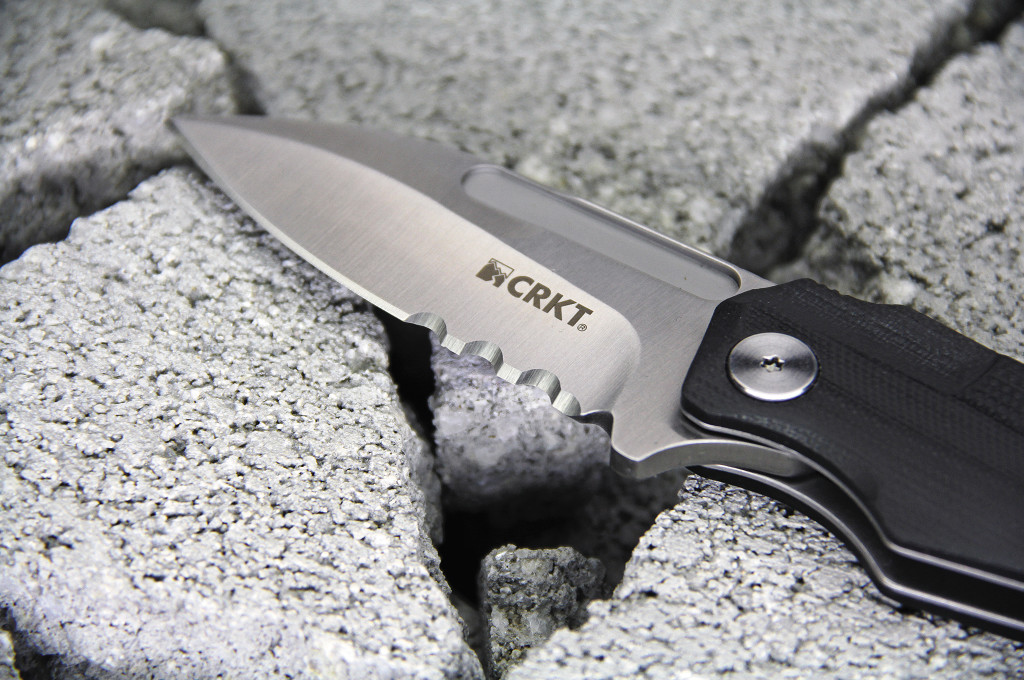
This CRKT Liong Mah 6 has three distinct serrations on its edge.
- Pivot – Only found on folding knives, this is where the blade attaches to the handle. Some knives feature caged ball bearing pivots for smoother opening.
- Liner – Flat metal plates inside the handle of a folding knife. These provide structure for the pivot and handle scales, and may also serve as part of the locking mechanism (called a “liner lock”).
- Line Cutter or Seatbelt Cutter – A sharpened notch in the blade, which is designed to slice through cordage or seatbelts. Some knives use a slotted opening in the handle or sheath, rather than a notch in the blade edge itself.
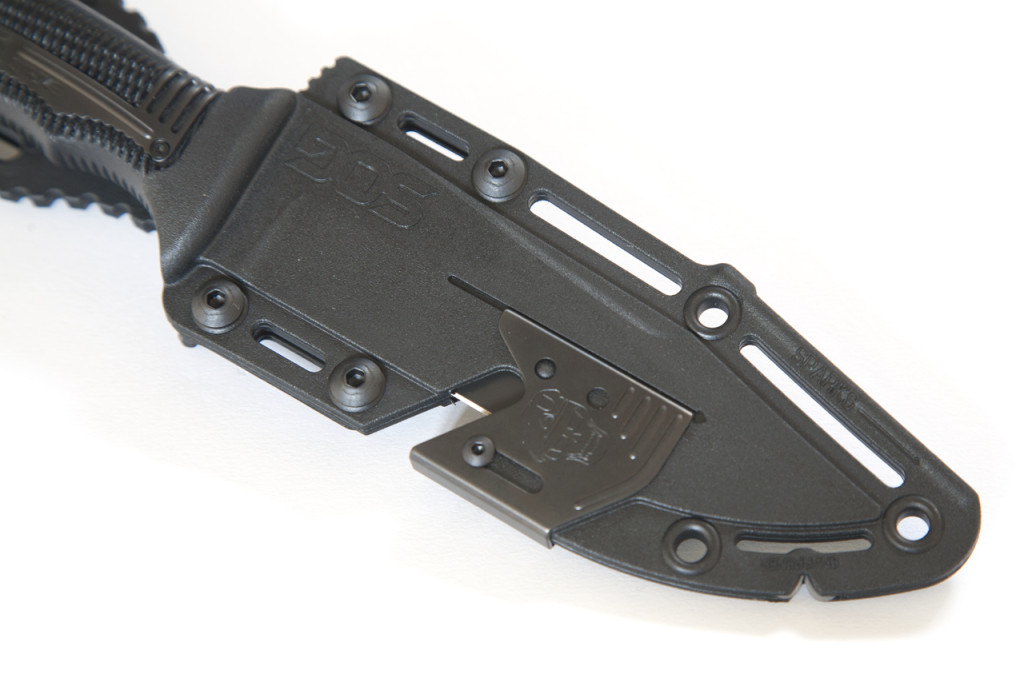
The SOG Seal Strike features a line cutter built into its sheath.
- Glass Breaker – A sharpened point on the butt of the knife, designed to crack and shatter glass. Some knives may feature a dedicated carbide point, while others may use a pointed extension of the tang for this purpose.
- Finger Groove – Distinct grooves or notches on the handle, designed to fit between the user's fingers and provide extra grip.
- Clip – A portion of the spine near the tip that is angled down (or “clipped off”) for improved piercing ability. Knives with this feature are often called “clip point” knives.
Read More
Subscribe to Recoil Offgrid's free newsletter for updates, offers and more.
The post Knife Anatomy 101: Infographic & Terms appeared first on RECOIL OFFGRID.
By: Patrick McCarthy
Title: Knife Anatomy 101: Infographic & Terms
Sourced From: www.offgridweb.com/gear/knife-anatomy-101-infographic-terms/
Published Date: Sun, 24 Dec 2023 12:00:28 +0000
------------------------
Did you miss our previous article...
https://bushcrafttips.com/bushcraft-news/readers-survival-tips-nick-italiano
 What is BushcraftSurvival SkillsToolsVideosBushcraft CampsBushcraft KitsBushcraft ProjectsPrivacy PolicyTerms And Conditions
